Introduction
This little boat is a newcomer to my workshop having been found advertised for sale during 2023 and acquired for a modest sum.
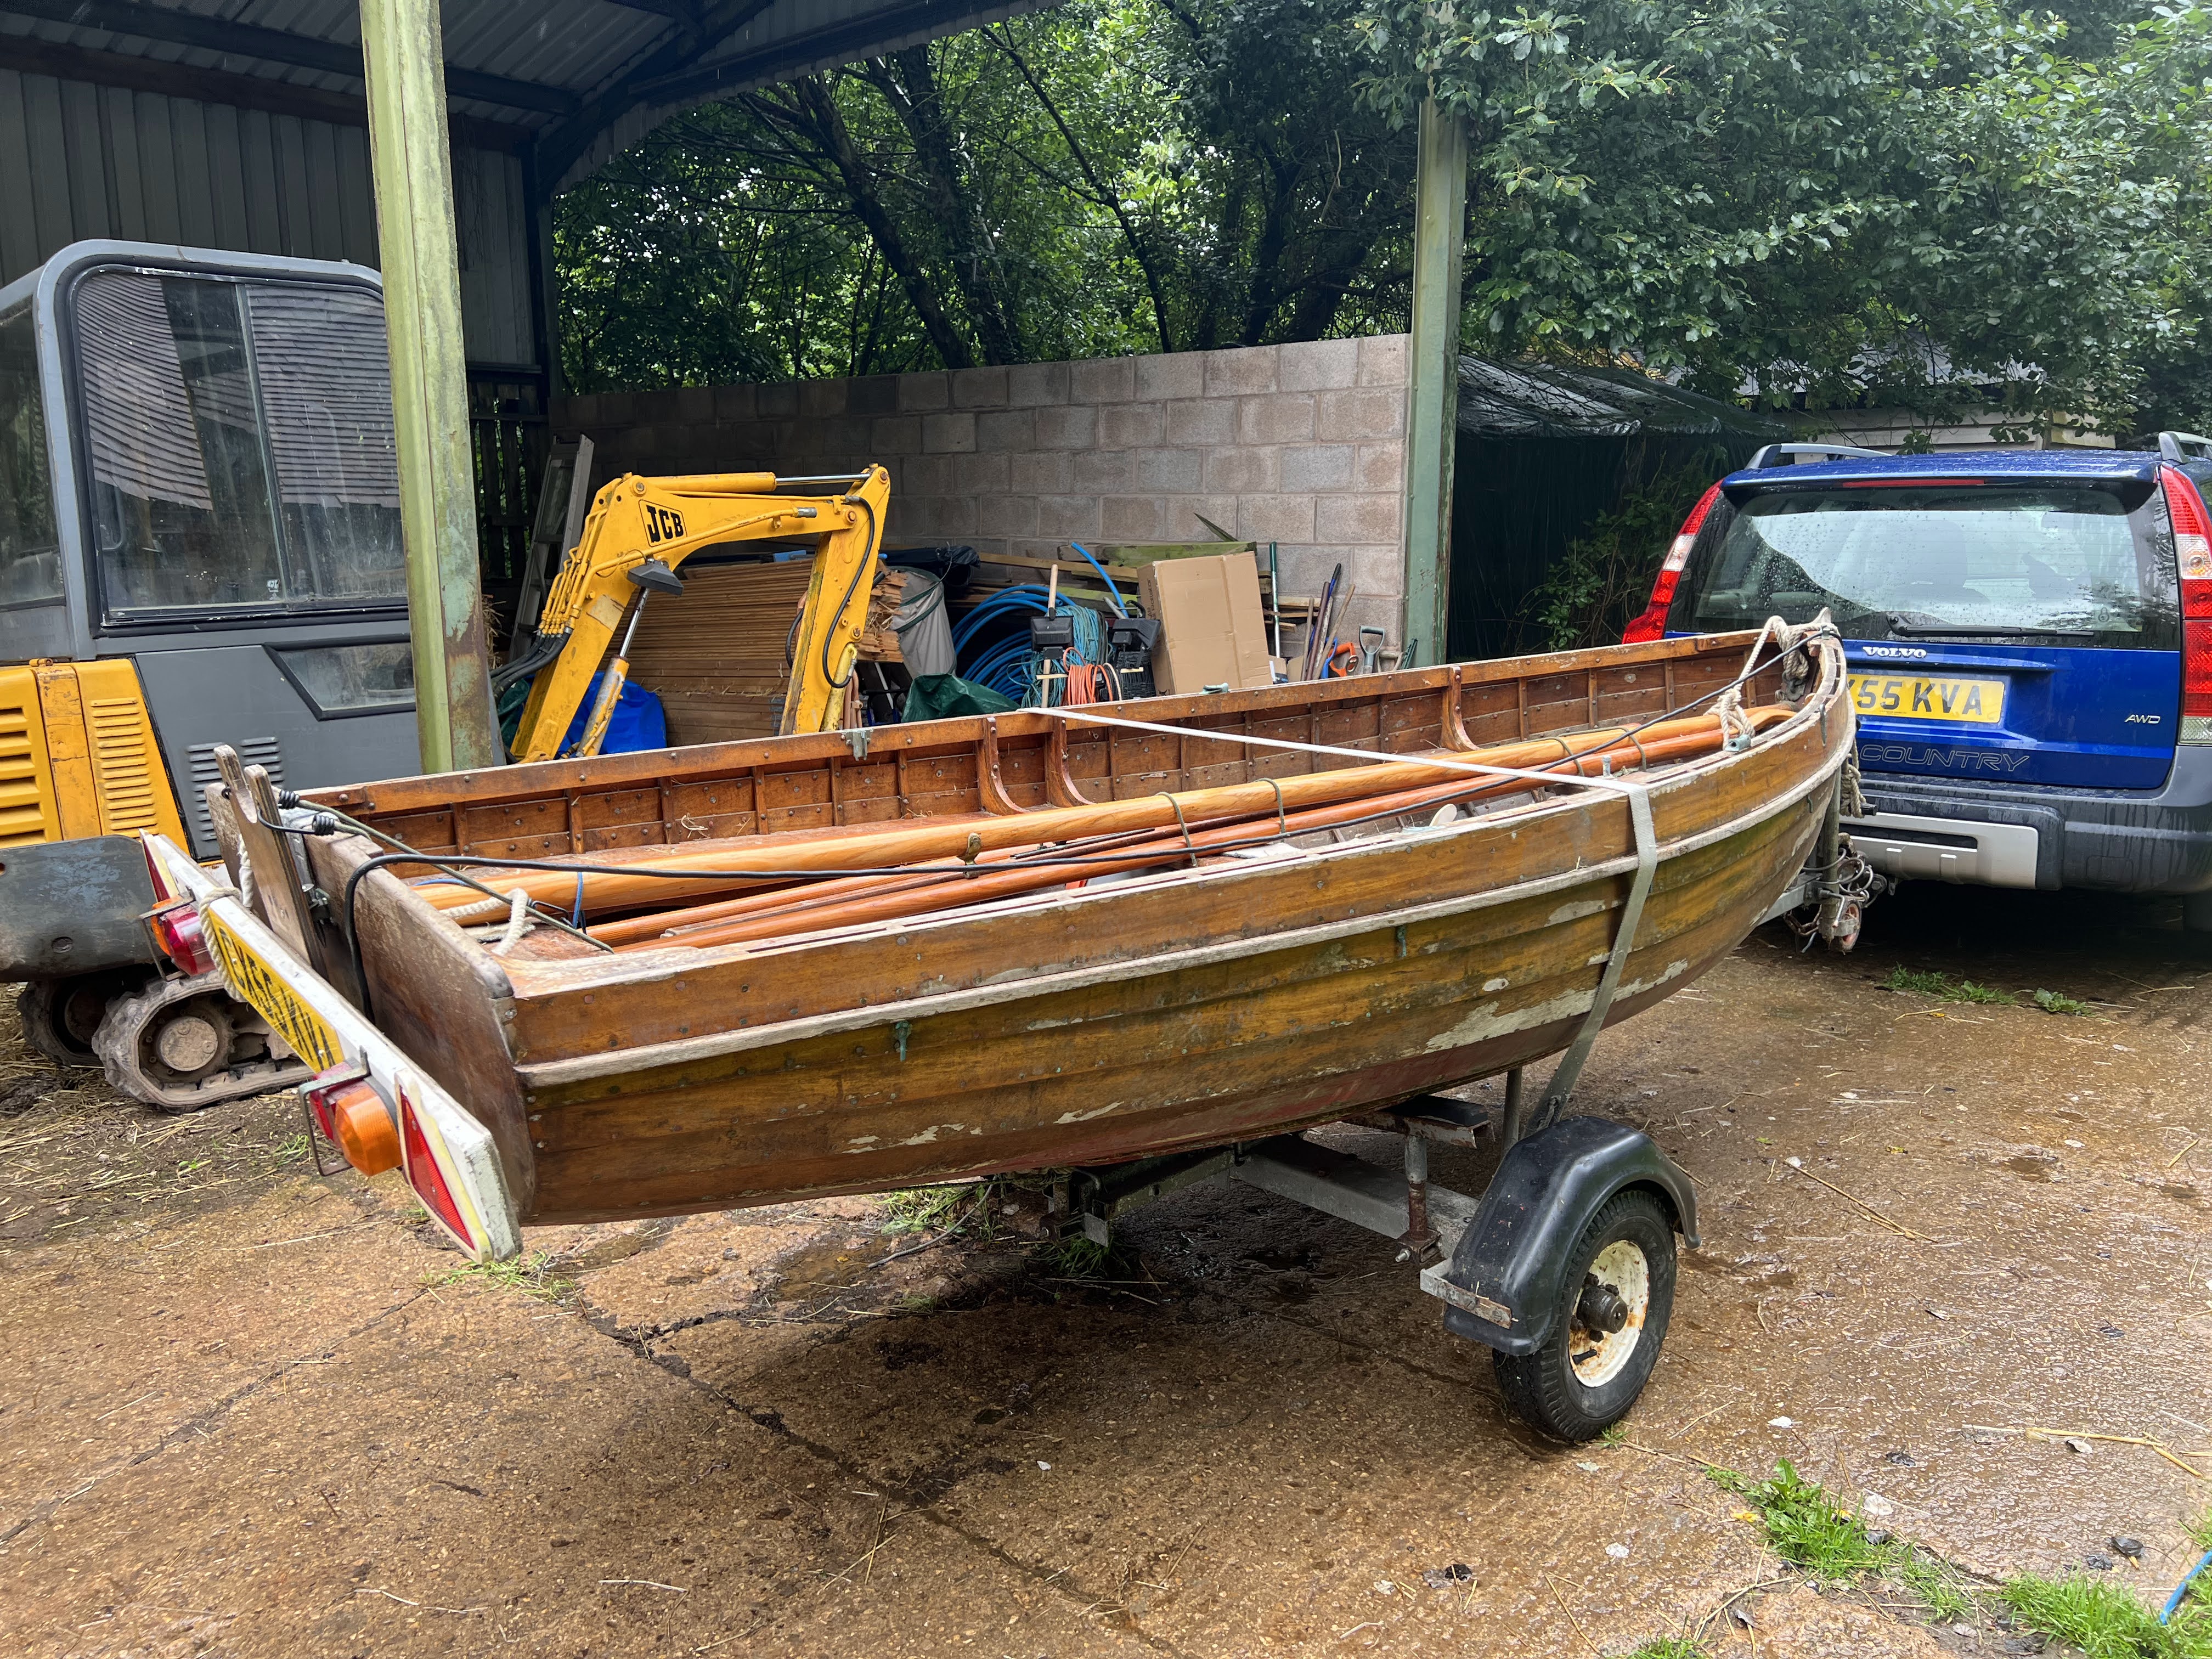
Repairs and restoration
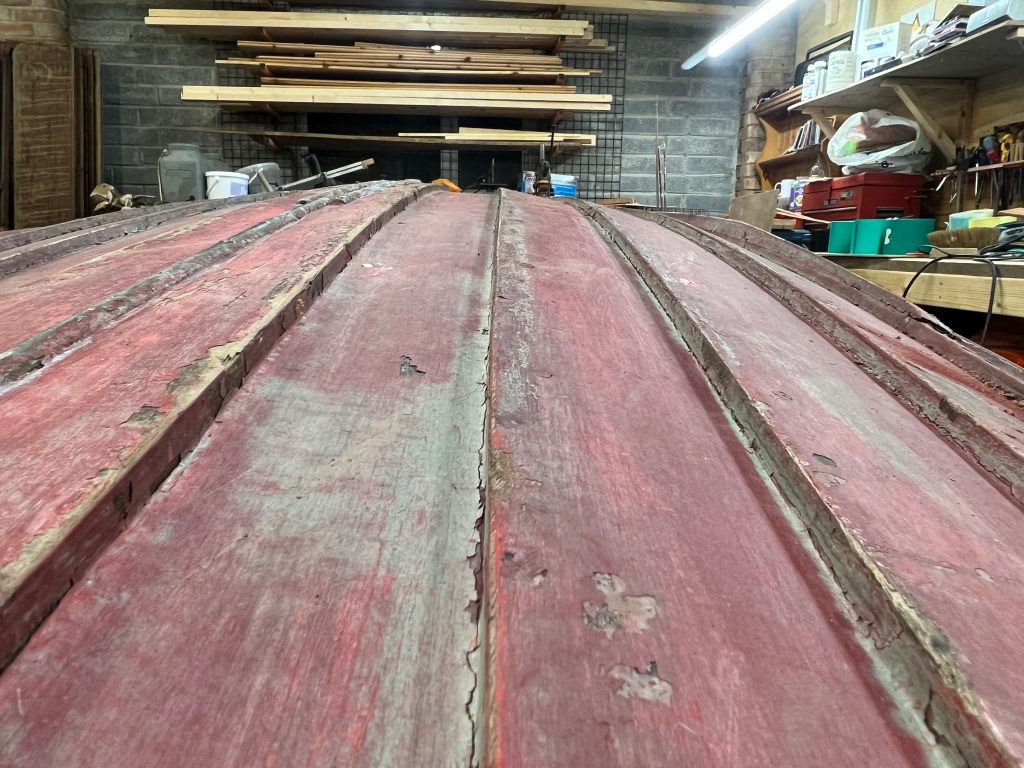
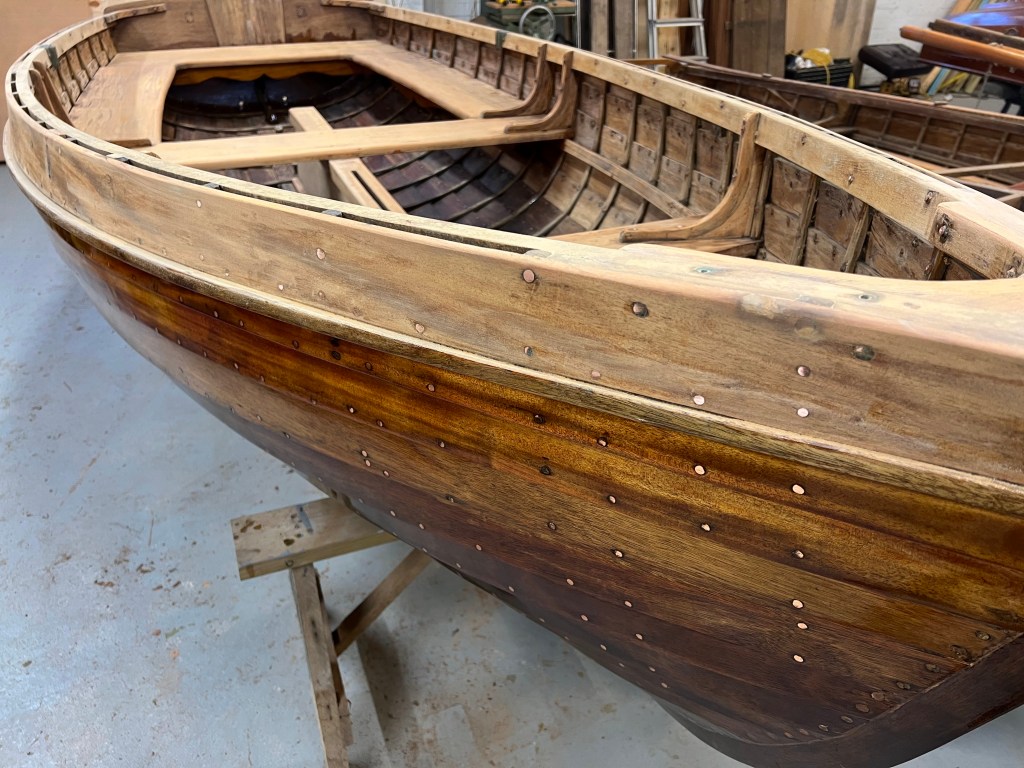
The boat was assessed and only needed minor repairs, namely the repair of three or four sections of new frames (ribs) a complete strip down of as much interior varnish and cleanup and a strip of the exterior and return to a bright finish. She was painted with what looked like red antifouling paint below the waterline.
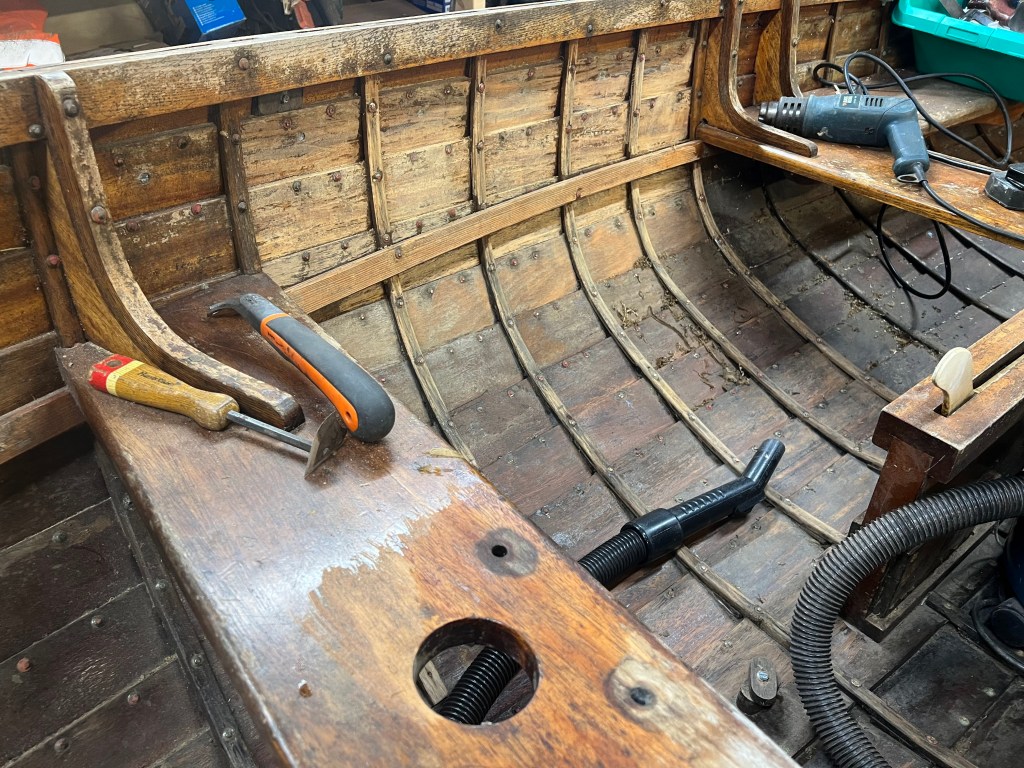
There were a few soft and split timbers and these had their fastenings cut off and driven carefully out and the degraded wood cut away.
Some oak was selected and cut and given a good soaking before being steamed and bent into place. Once cool and dry the new sections were scarfed into the original remaining timber ends and fastened with new copper nails and roves.
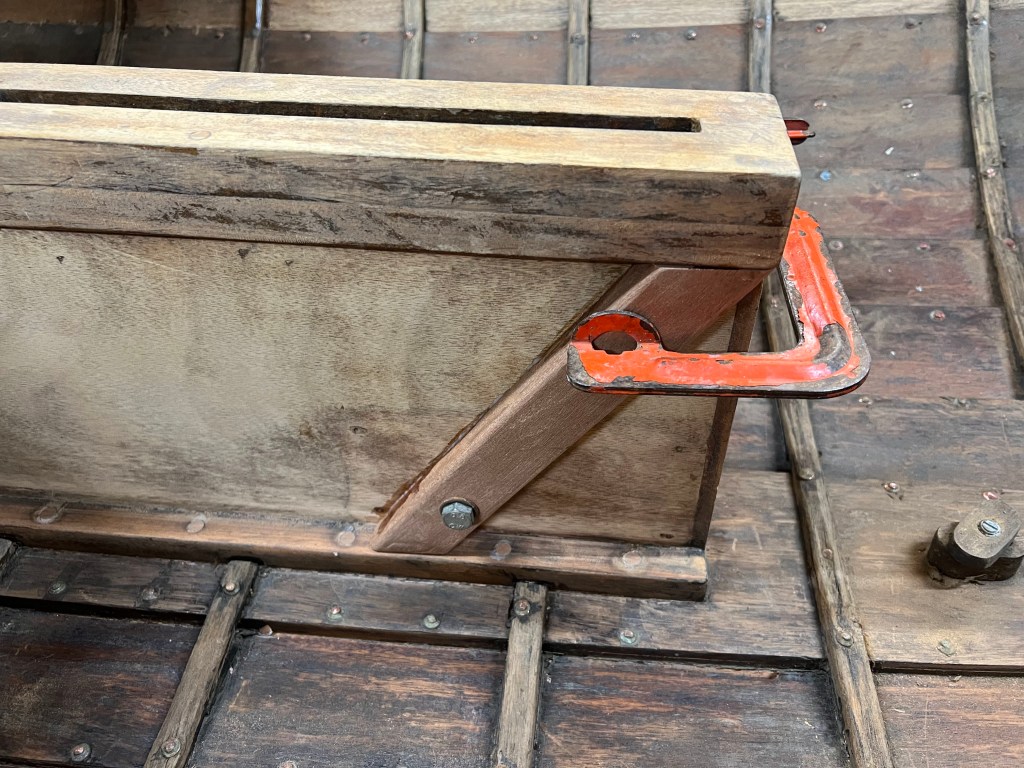
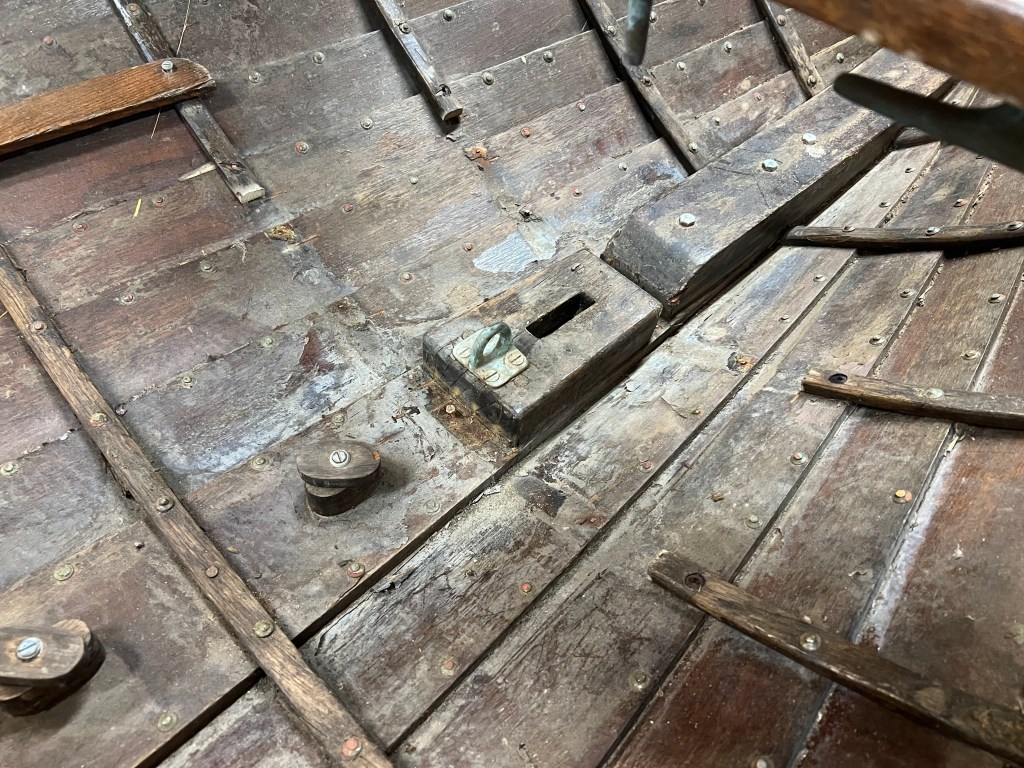
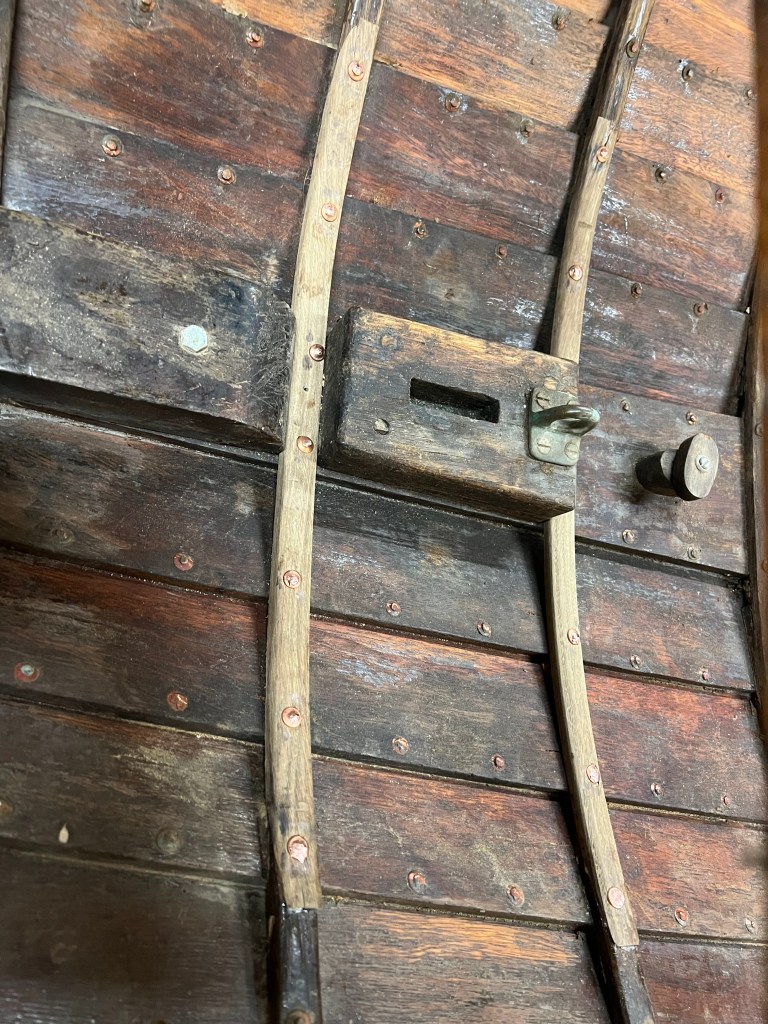
The centre plate had a strange arrangement with a pin buried behind two wooden patches and had clearly been leaking. This was stripped away and two diagonals fabricated and glued over the pivot bolt hole as shown to provide a strong landing for the bolt. The centre plate case has thin plywood sides and these doublers will strengthen this area considerably.
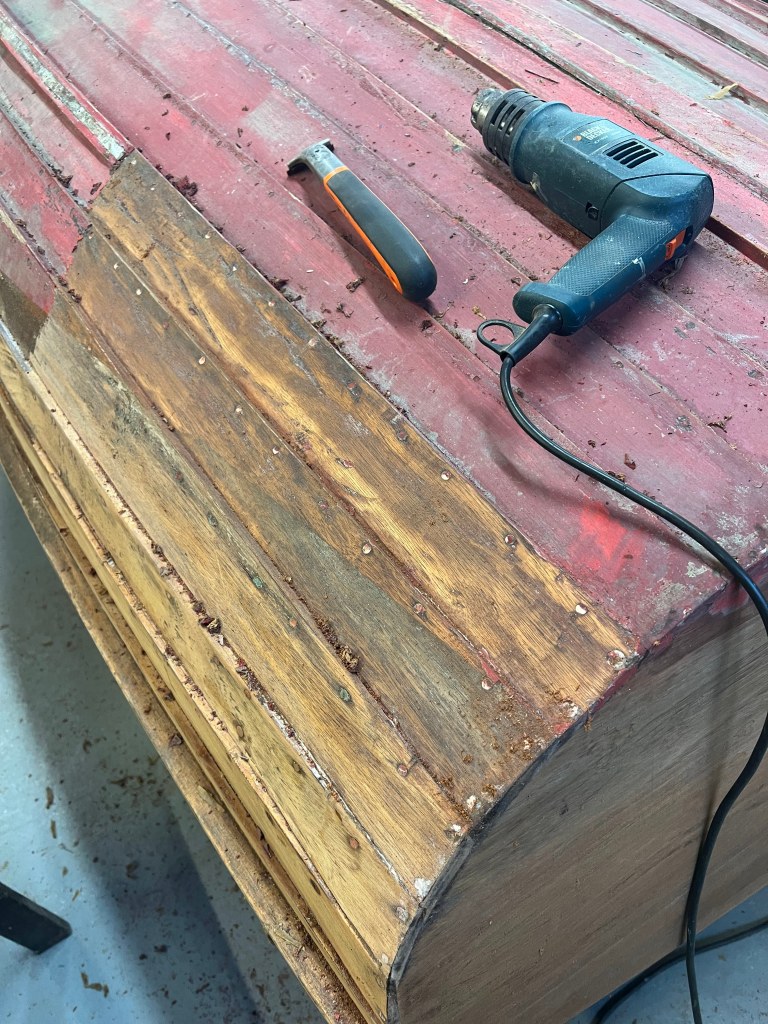
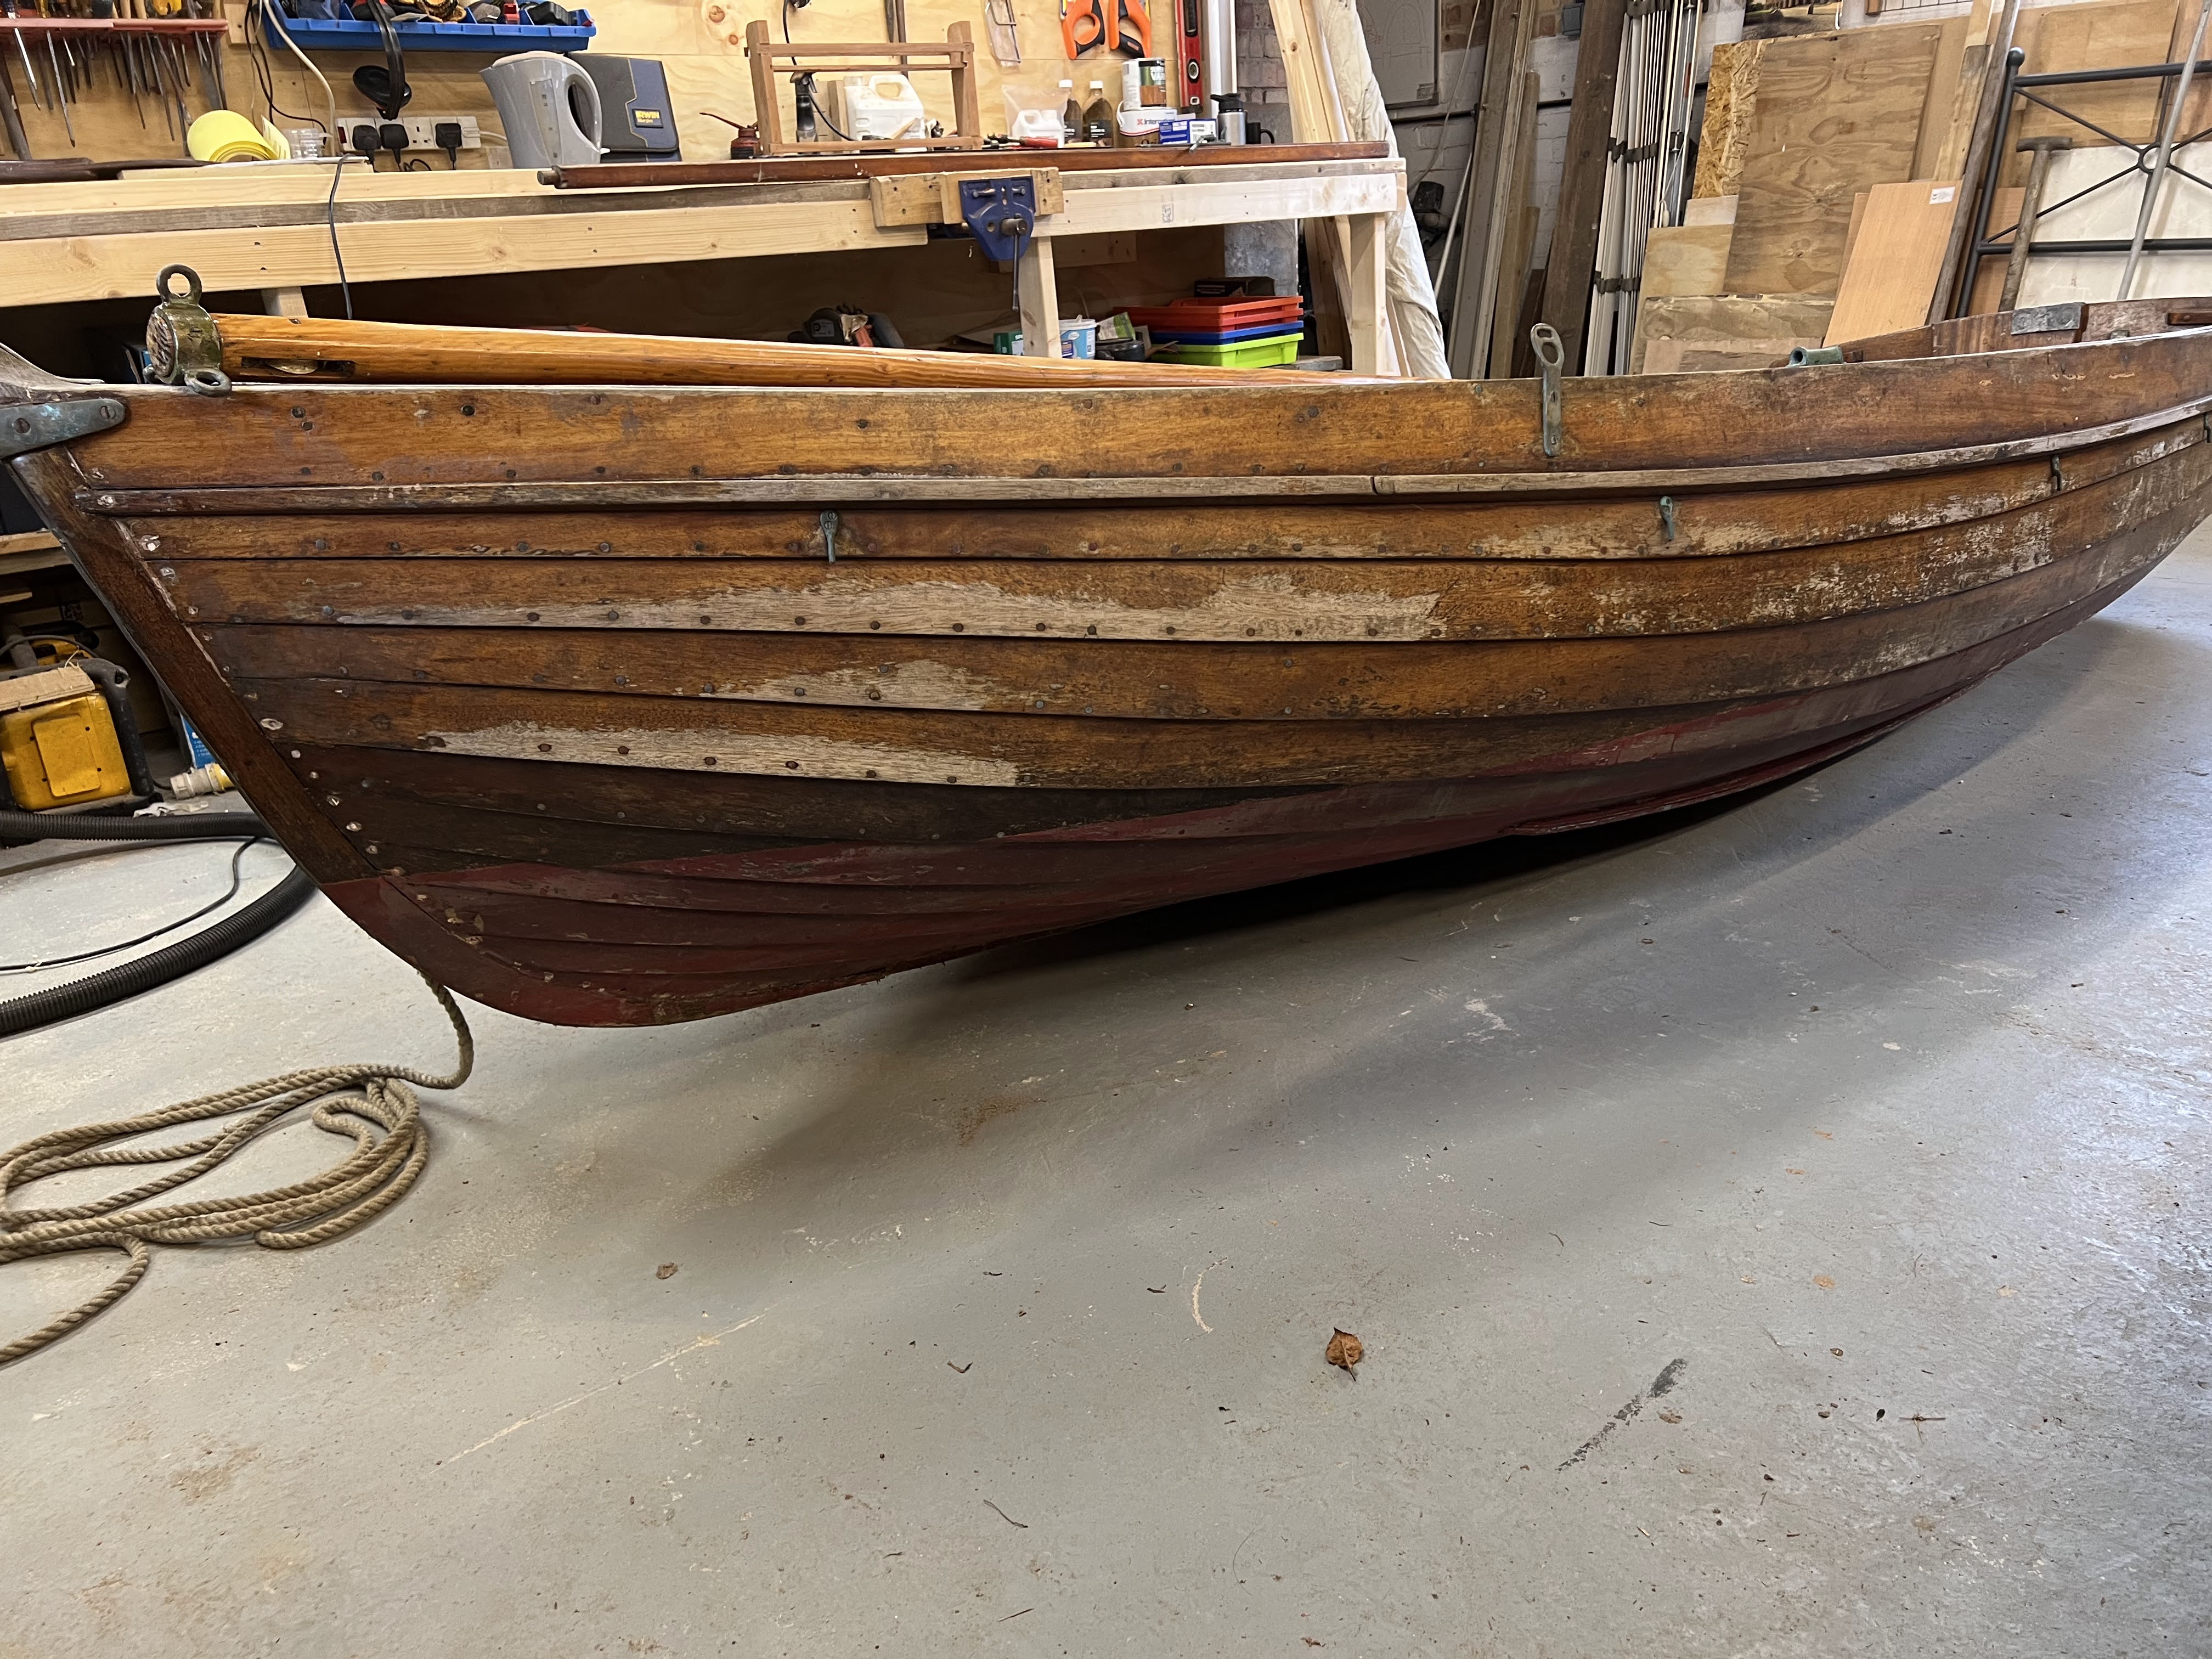
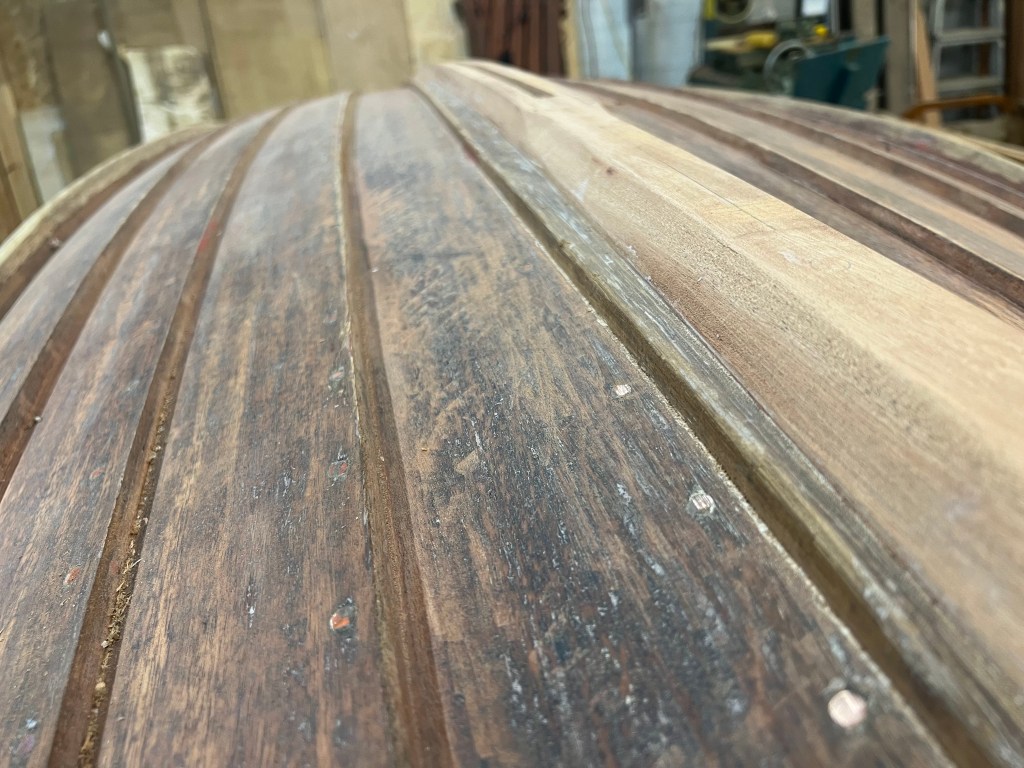
The boat was turned over and work began on stripping off all the rest of the varnish and the bottom paint.
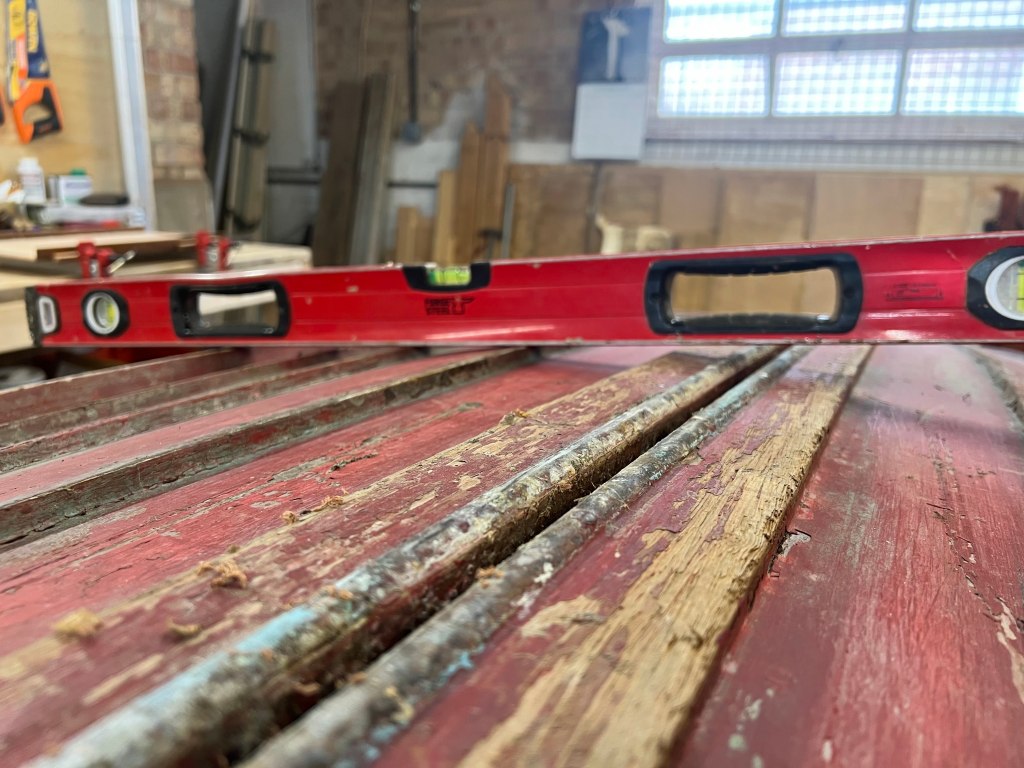
Another odd feature of this little boat was the shape of her midships section in relation to her keel depth that meant the lands of the lower planks would ground before the bilge keels – as can be seen in the picture above where I’ve laid a straight edge across her bottom roughly amidships, exactly where she would take the ground.
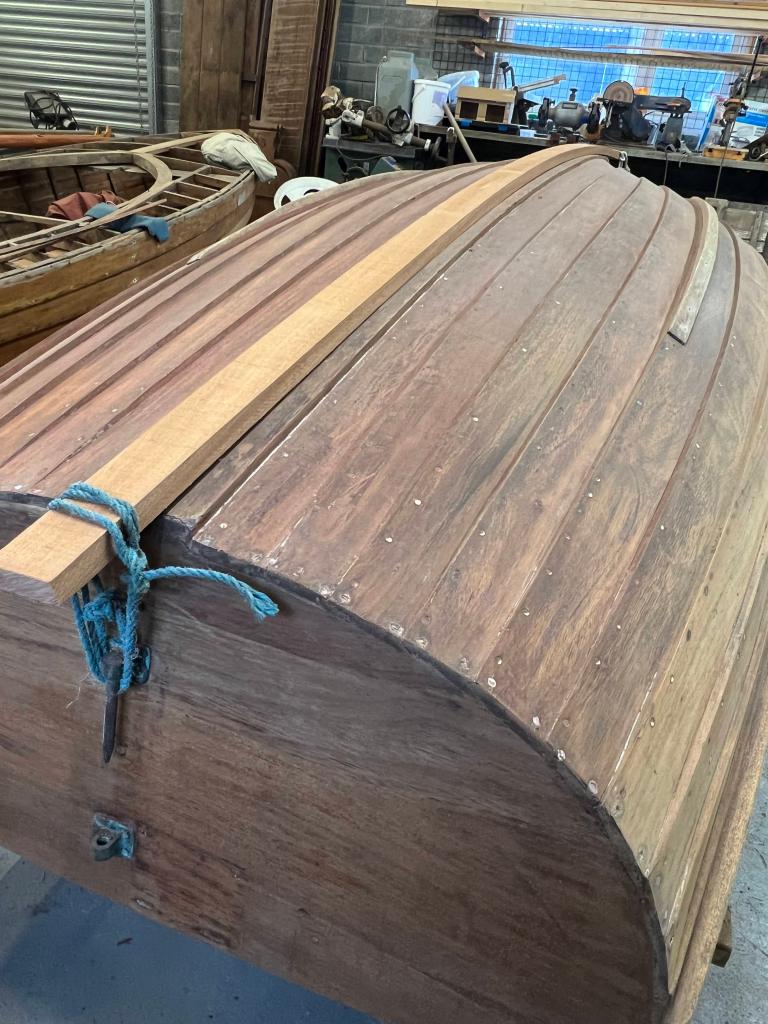
The brass keel band was taken off and a suitable length of sapele was worked to fit over the boat’s keel plank.
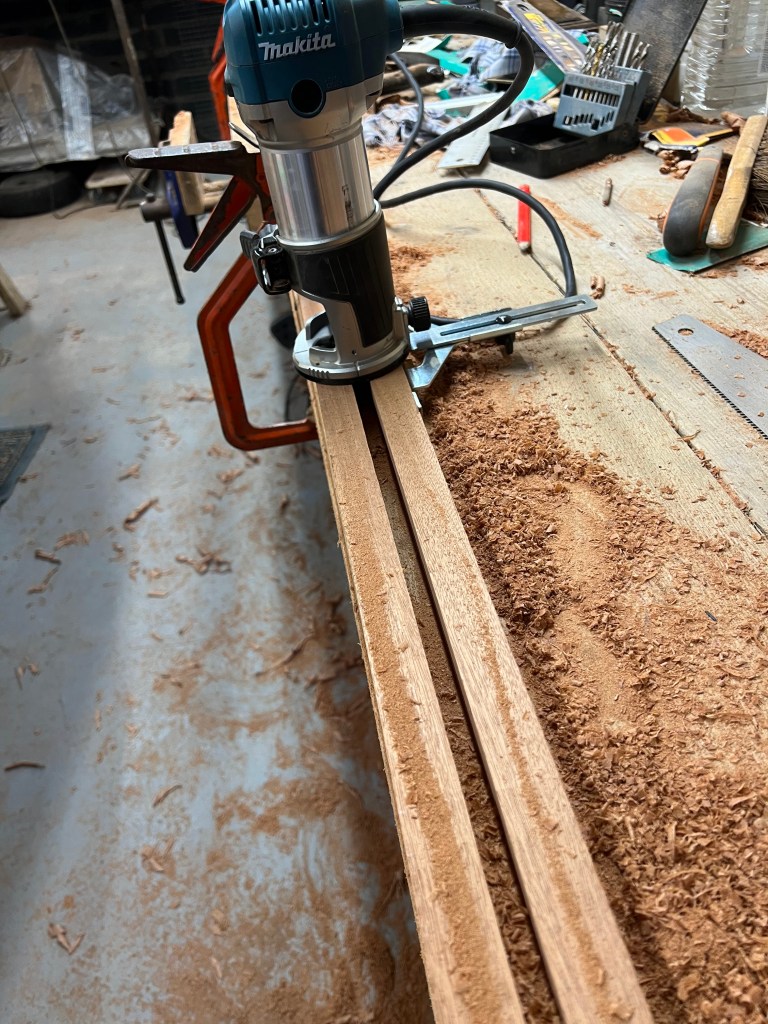
The centre plate slot was marked on the new timber and the slot cut out with saw and router. The timber was then further shaped, tapered and reduced to a tidy profile before being glued and screwed to the boat. The new keel will give her something to sit on and allow for a slightly broader centre plate to be made.
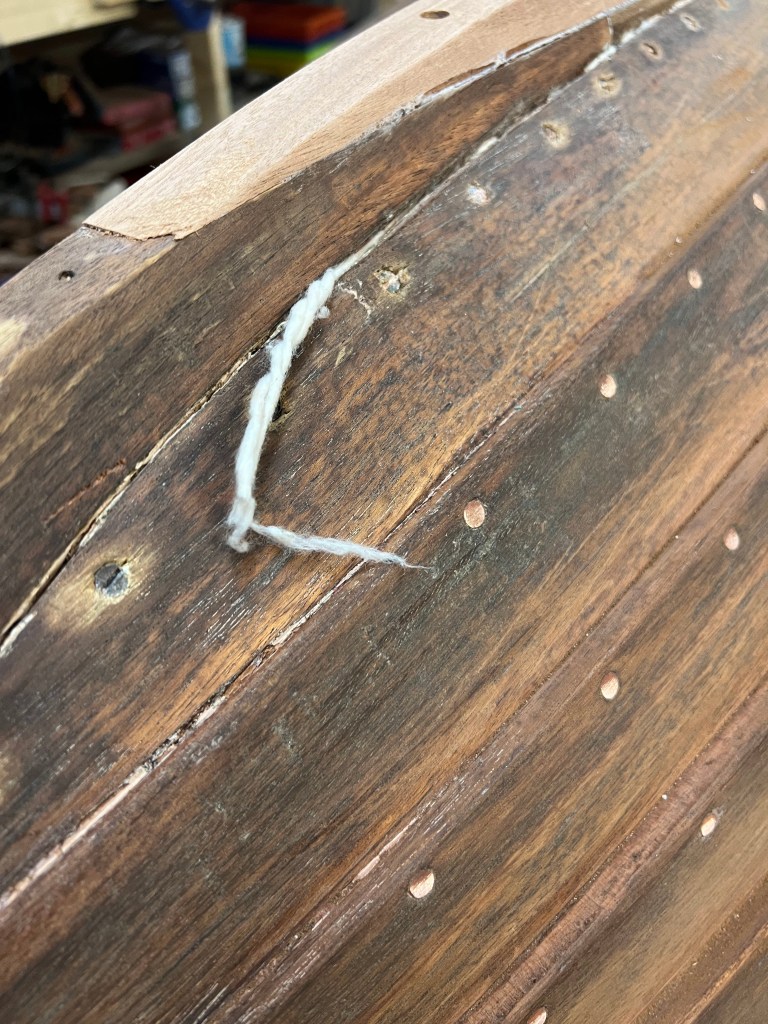
The final task was to rake out a few of the open garboard seams and drive in some fresh cotton. Her seams are so narrow that in places only one strand of cotton was needed.
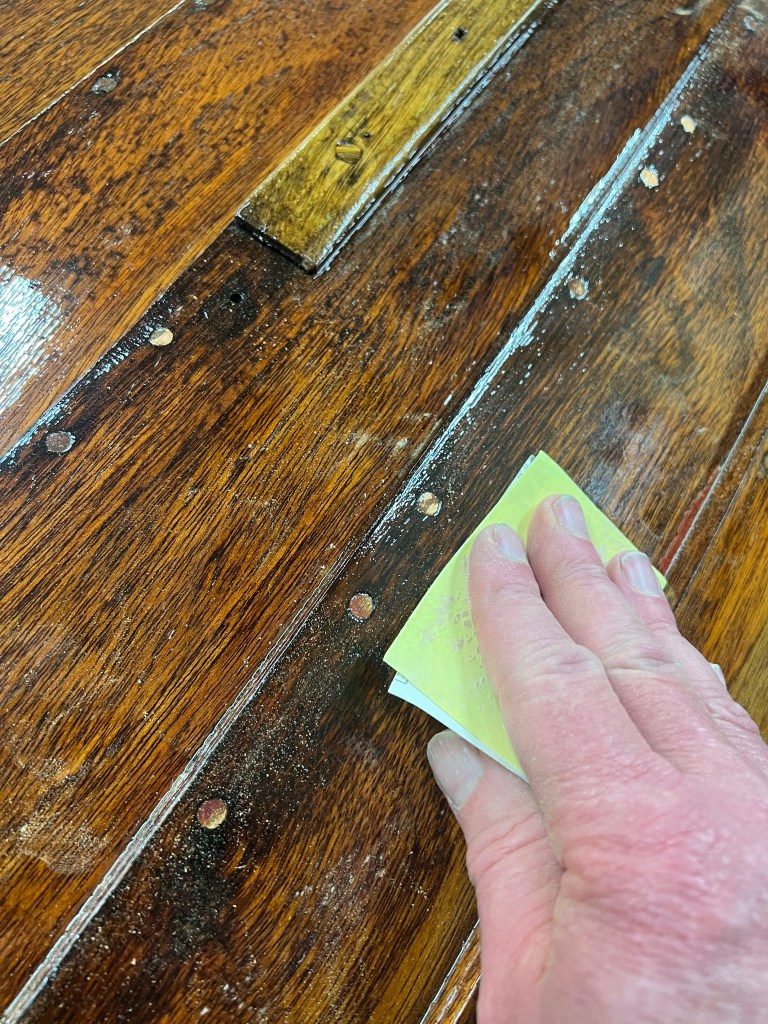
After caulking, various small holes and seams were plugged, filled and faired and then there followed more scraping and sanding till I was happy the outer planking was as smooth and tidy. I’ve made no effort to bleach any of the staining or darkened wood – I’m happy that she’ll have a bit of a patina of age and a few scars from her previous life. Varnishing was next.
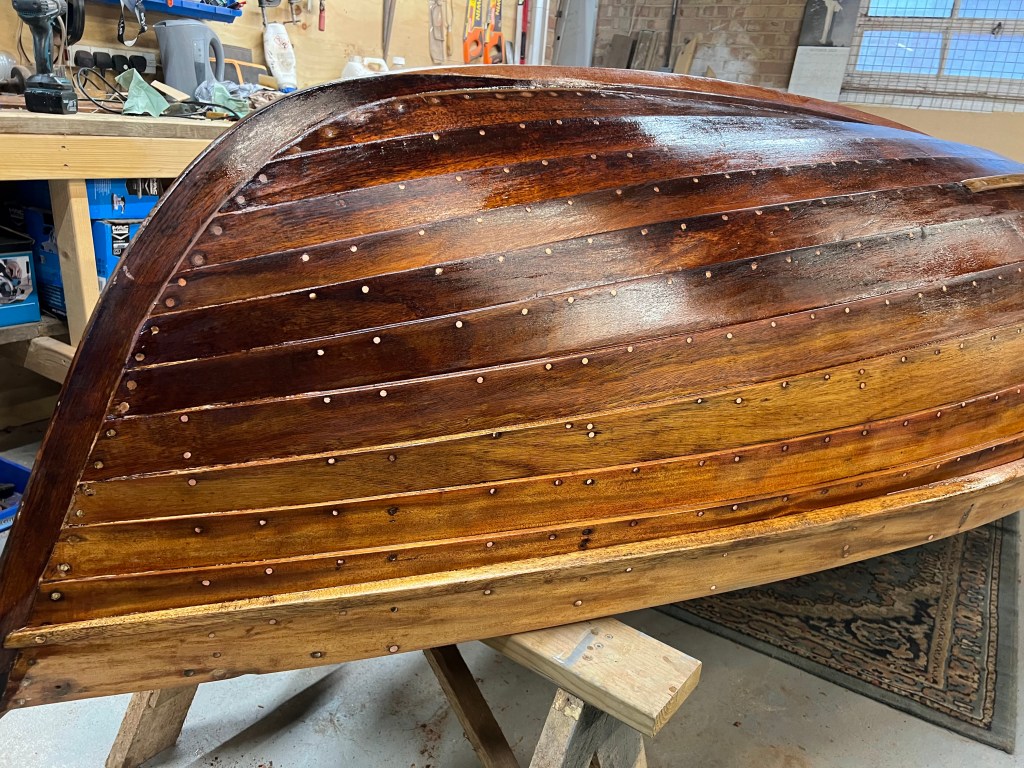
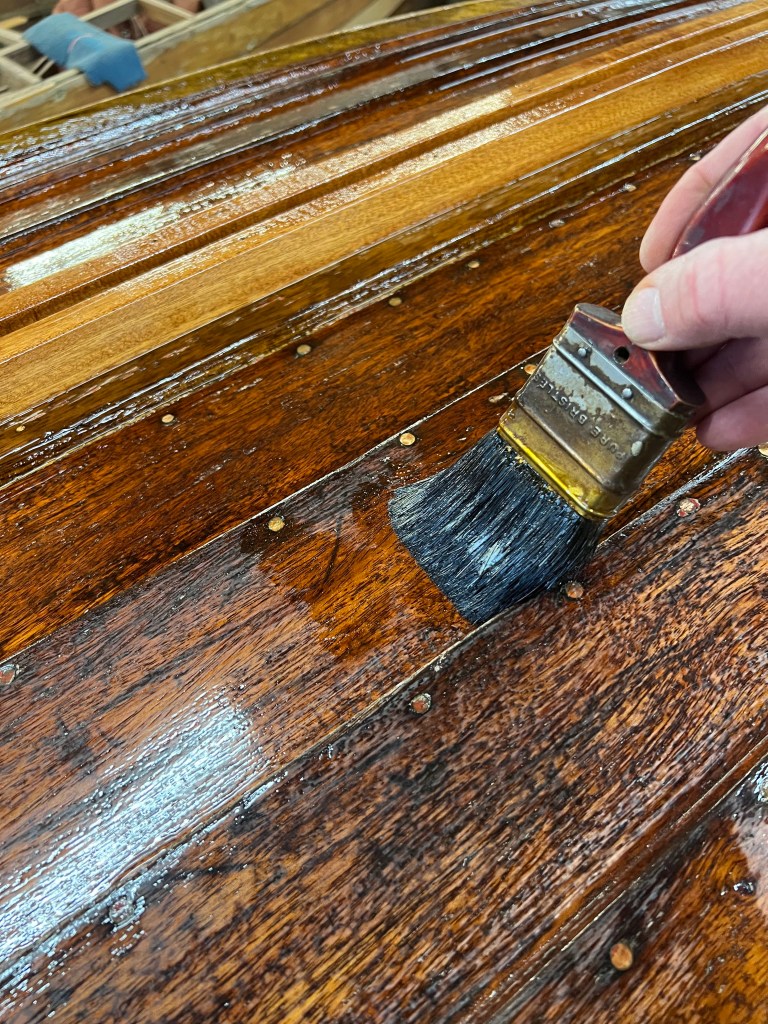
Using International Original varnish the first coat thinned with about 15% white spirit was applied.
I applied four more coats of un-thinned varnish, rubbing down between coats.


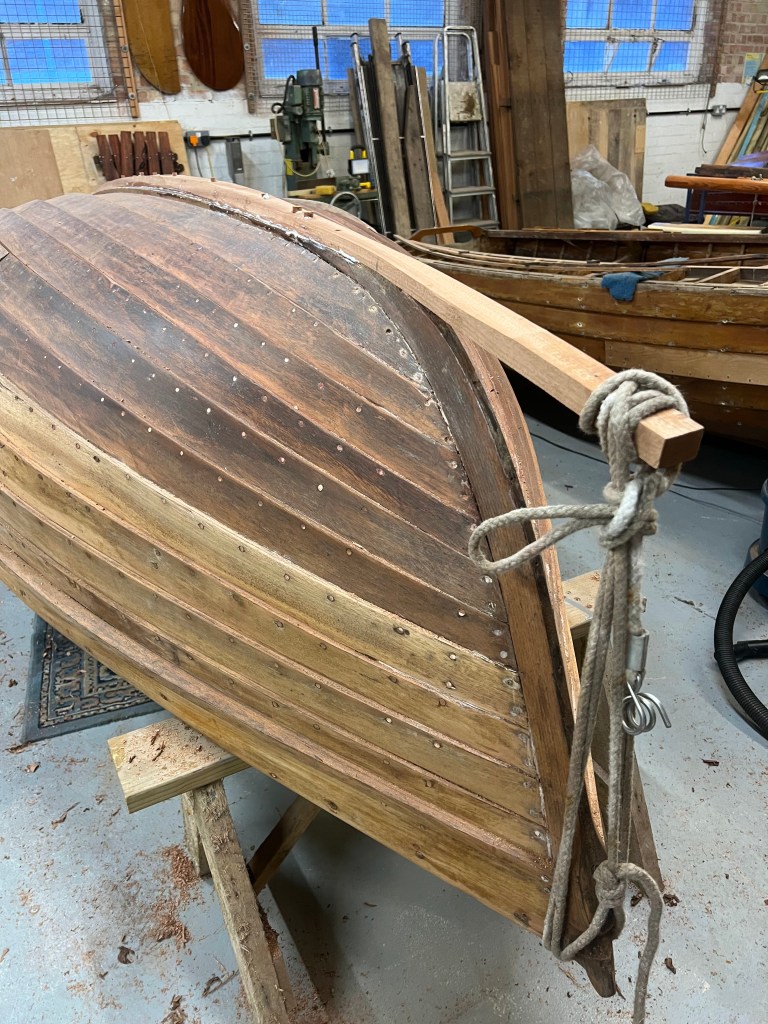
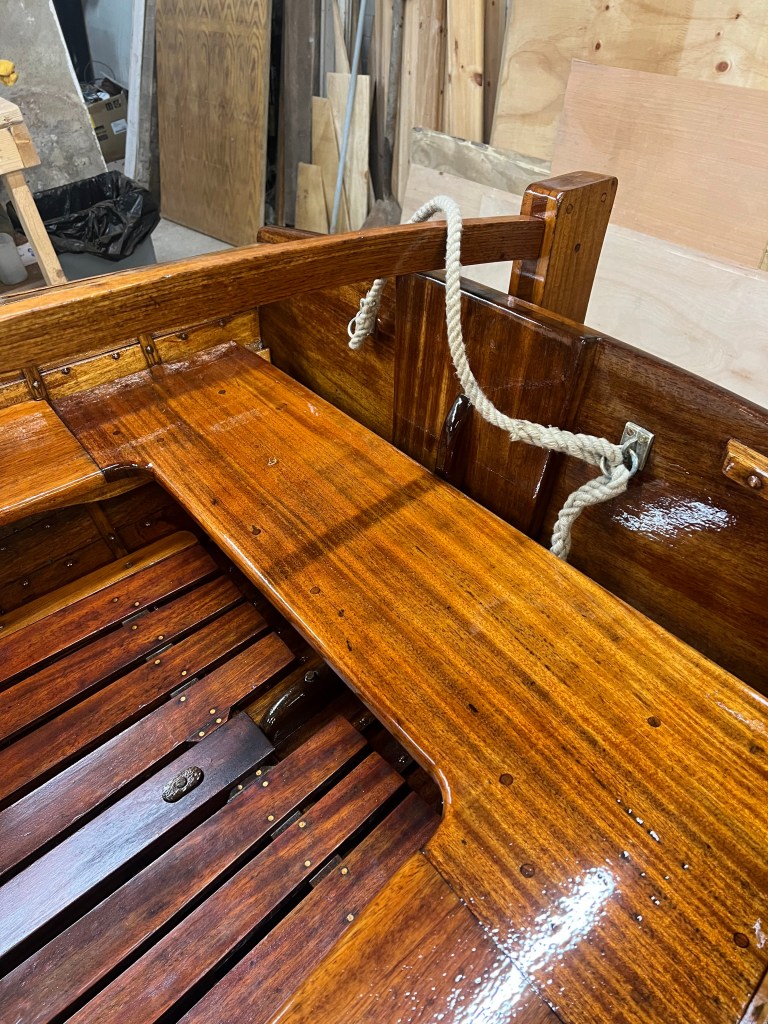
A final job before turning her back over was to fit the brass keel bands and a centre plate slot gasket.
A lot of preparation had been done prior to turning the boat upside down but now the right way up all the still bare interior timber got a thorough sanding prior to the first sealing coat of thinned varnish.
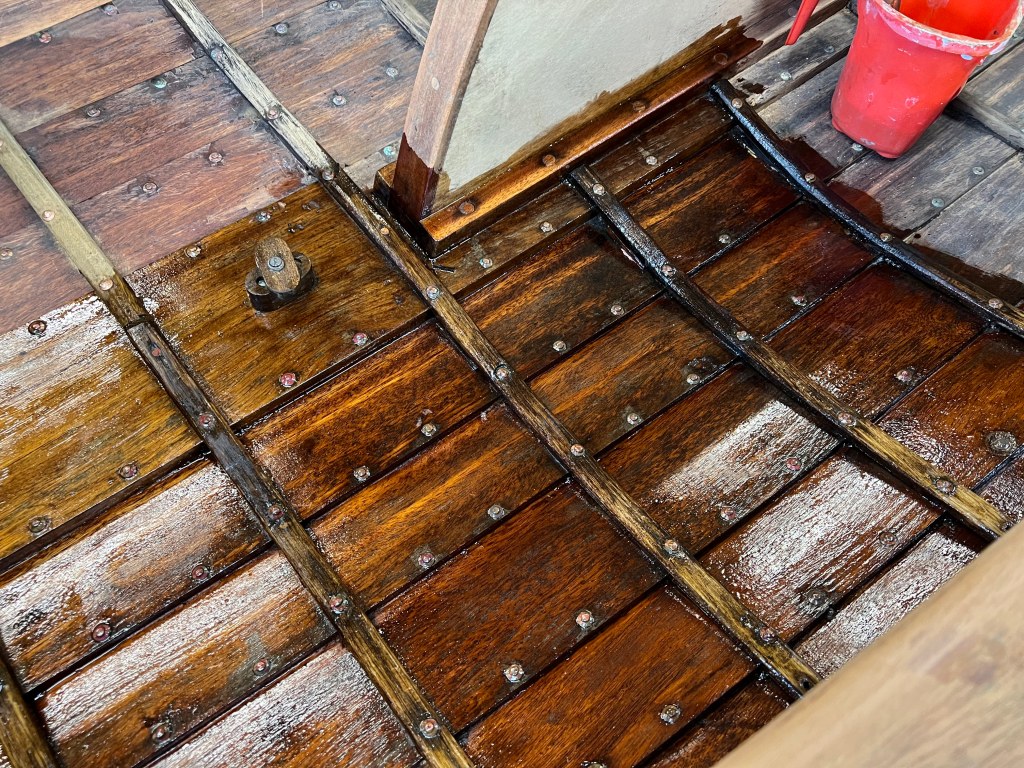
Subsequent coats were sprayed on the interior and finished by brush on thwarts and walestrake. In all six coats were applied as the varnish had to be slightly thinned in order to go through the sprayer.
Fitting out
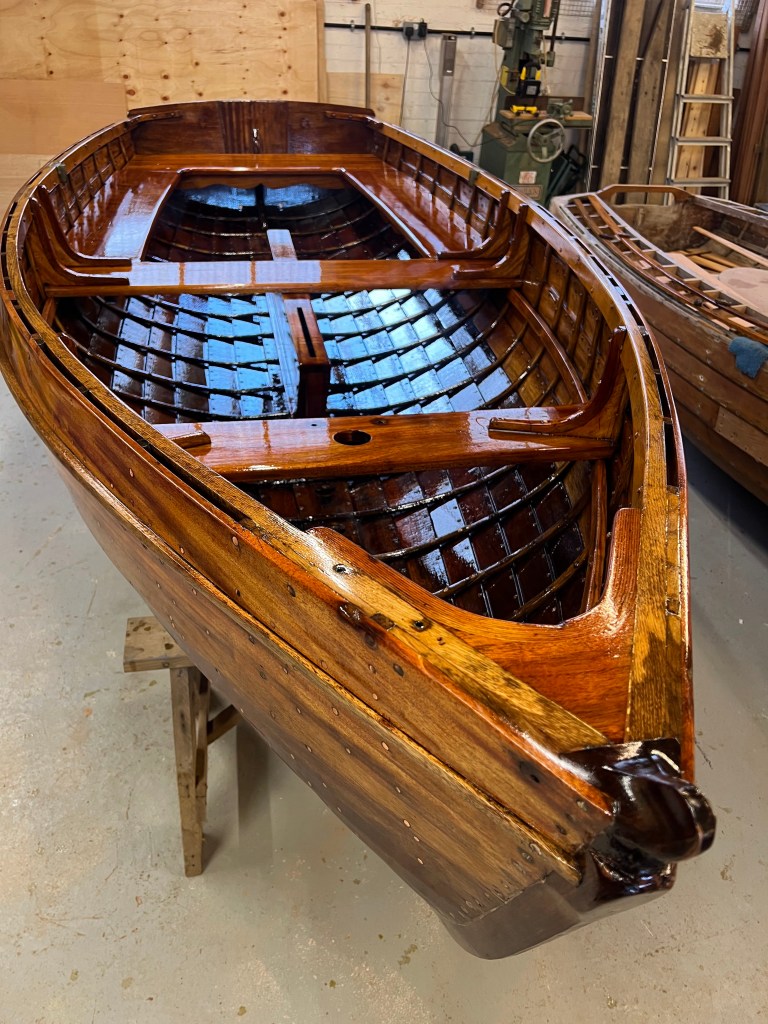
With the varnish now hardening it was time to start to put her back together again. The floorboards (burden boards) had been sanded and separately varnished and were refitted. The rudder was re-hung and sheet bridle plates and chain plates refitted.
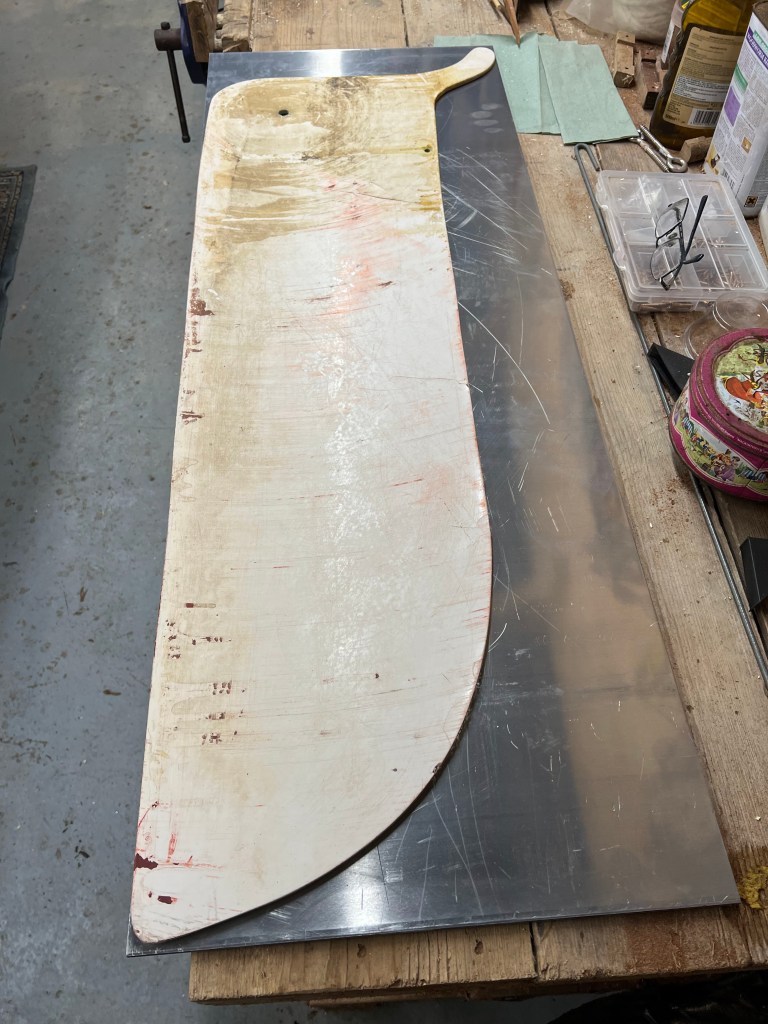
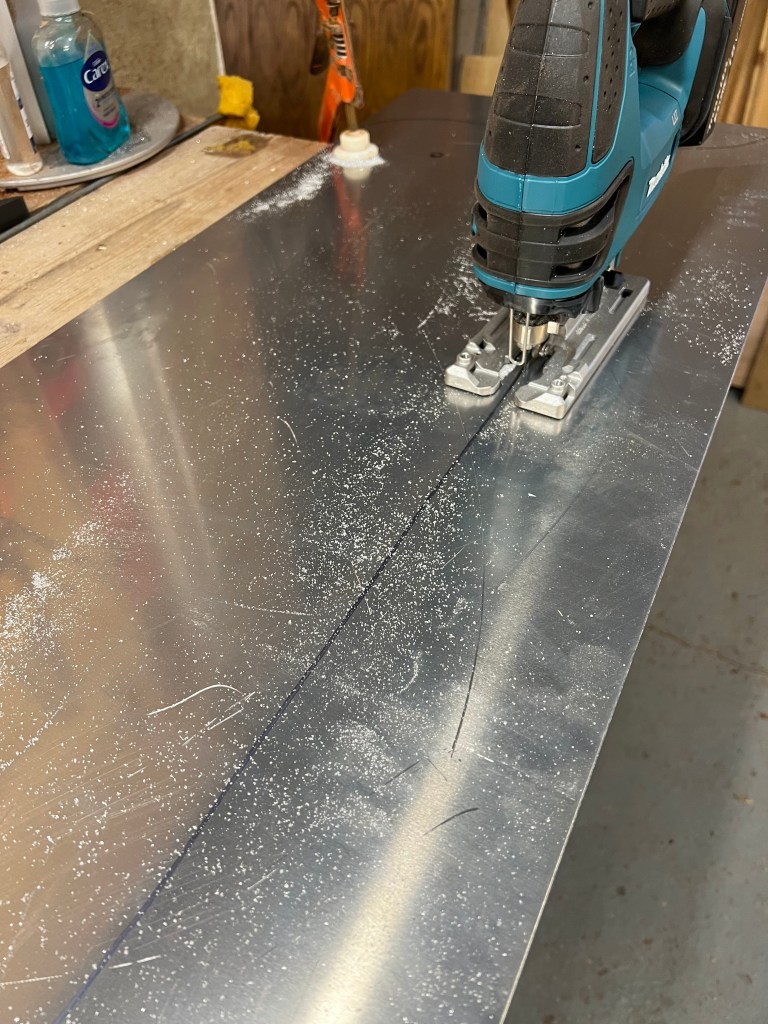
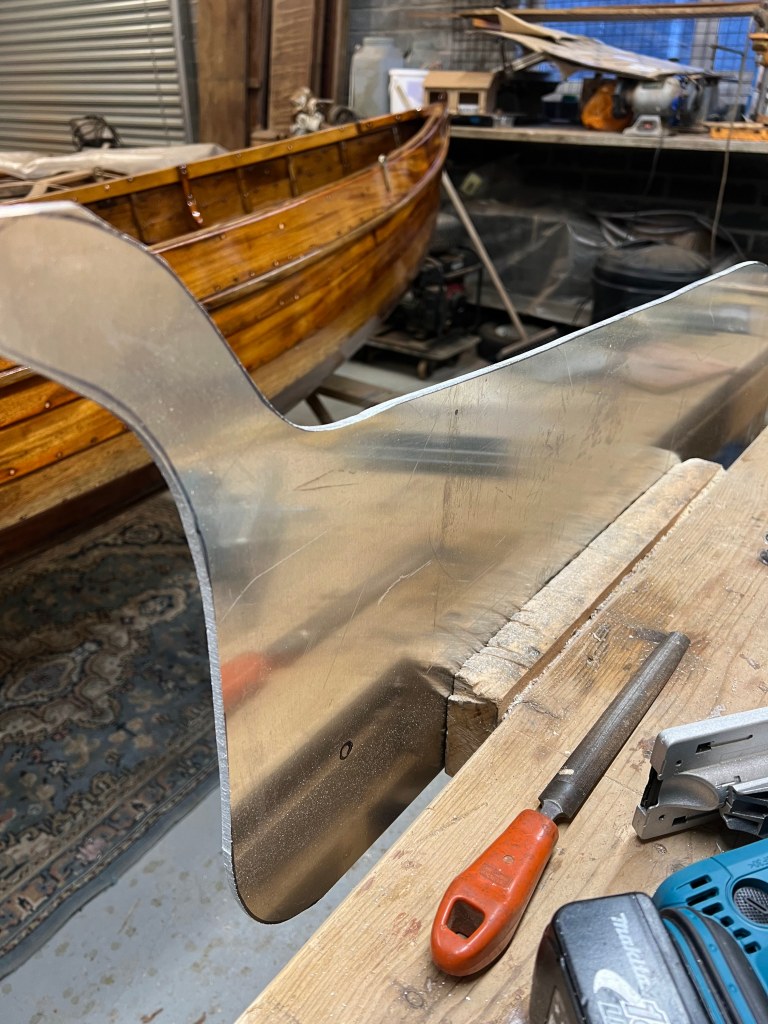
Attention was then turned to the centreboard. As found she was fitted with a 6mm thick flat g.r.p. centreboard that was very flexible and was breaking up. The slot and c/b case is only made for a thin centre plate and so I decided to give her a metal centre plate. A marine-grade aluminium alloy was chosen of the same thickness and I simply used the old ‘plate as a template. Cut out using a coarse hacksaw blade in the jigsaw and filed all around to fit.
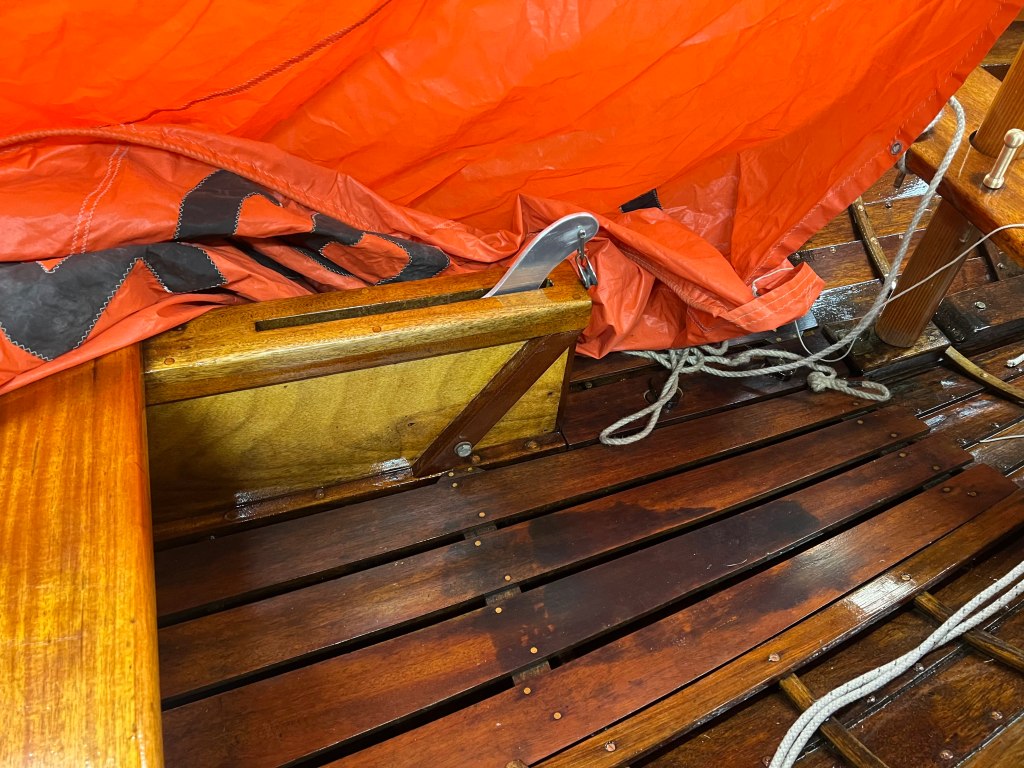
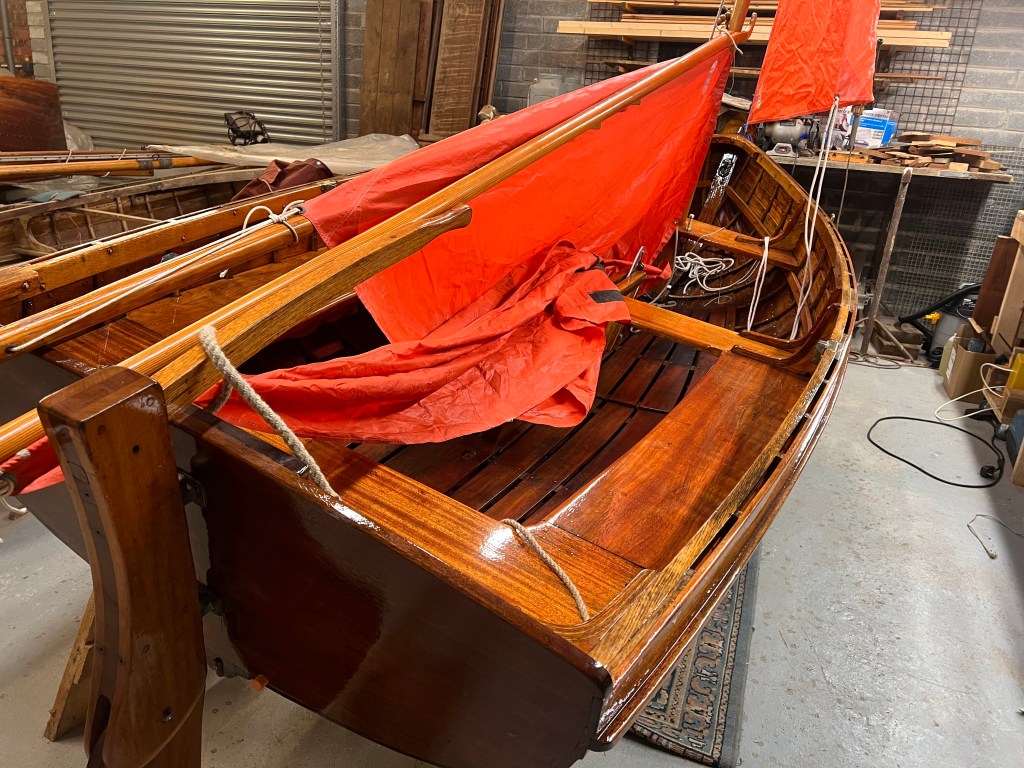
I started working on the rig and was able to step the mast inside the shed. The boat did not have any sails as bought but I’ve found that Mirror dinghy class sails fit reasonably well- the main is the right length up the gunter yard but slightly short on the boom. The jib luff is slightly too long but can probably be reduced from head to tack to fit the fore triangle and the mast raked slightly to give some luff tension.
Fitting out has continued with the installation of some buoyancy bags. I’m hoping that she will not be prone to capsizing but it seems to be a sensible addition to the boat; especially as I hope to introduce my granddaughters to the joys of ‘Swallows & Amazons’ era sailing.
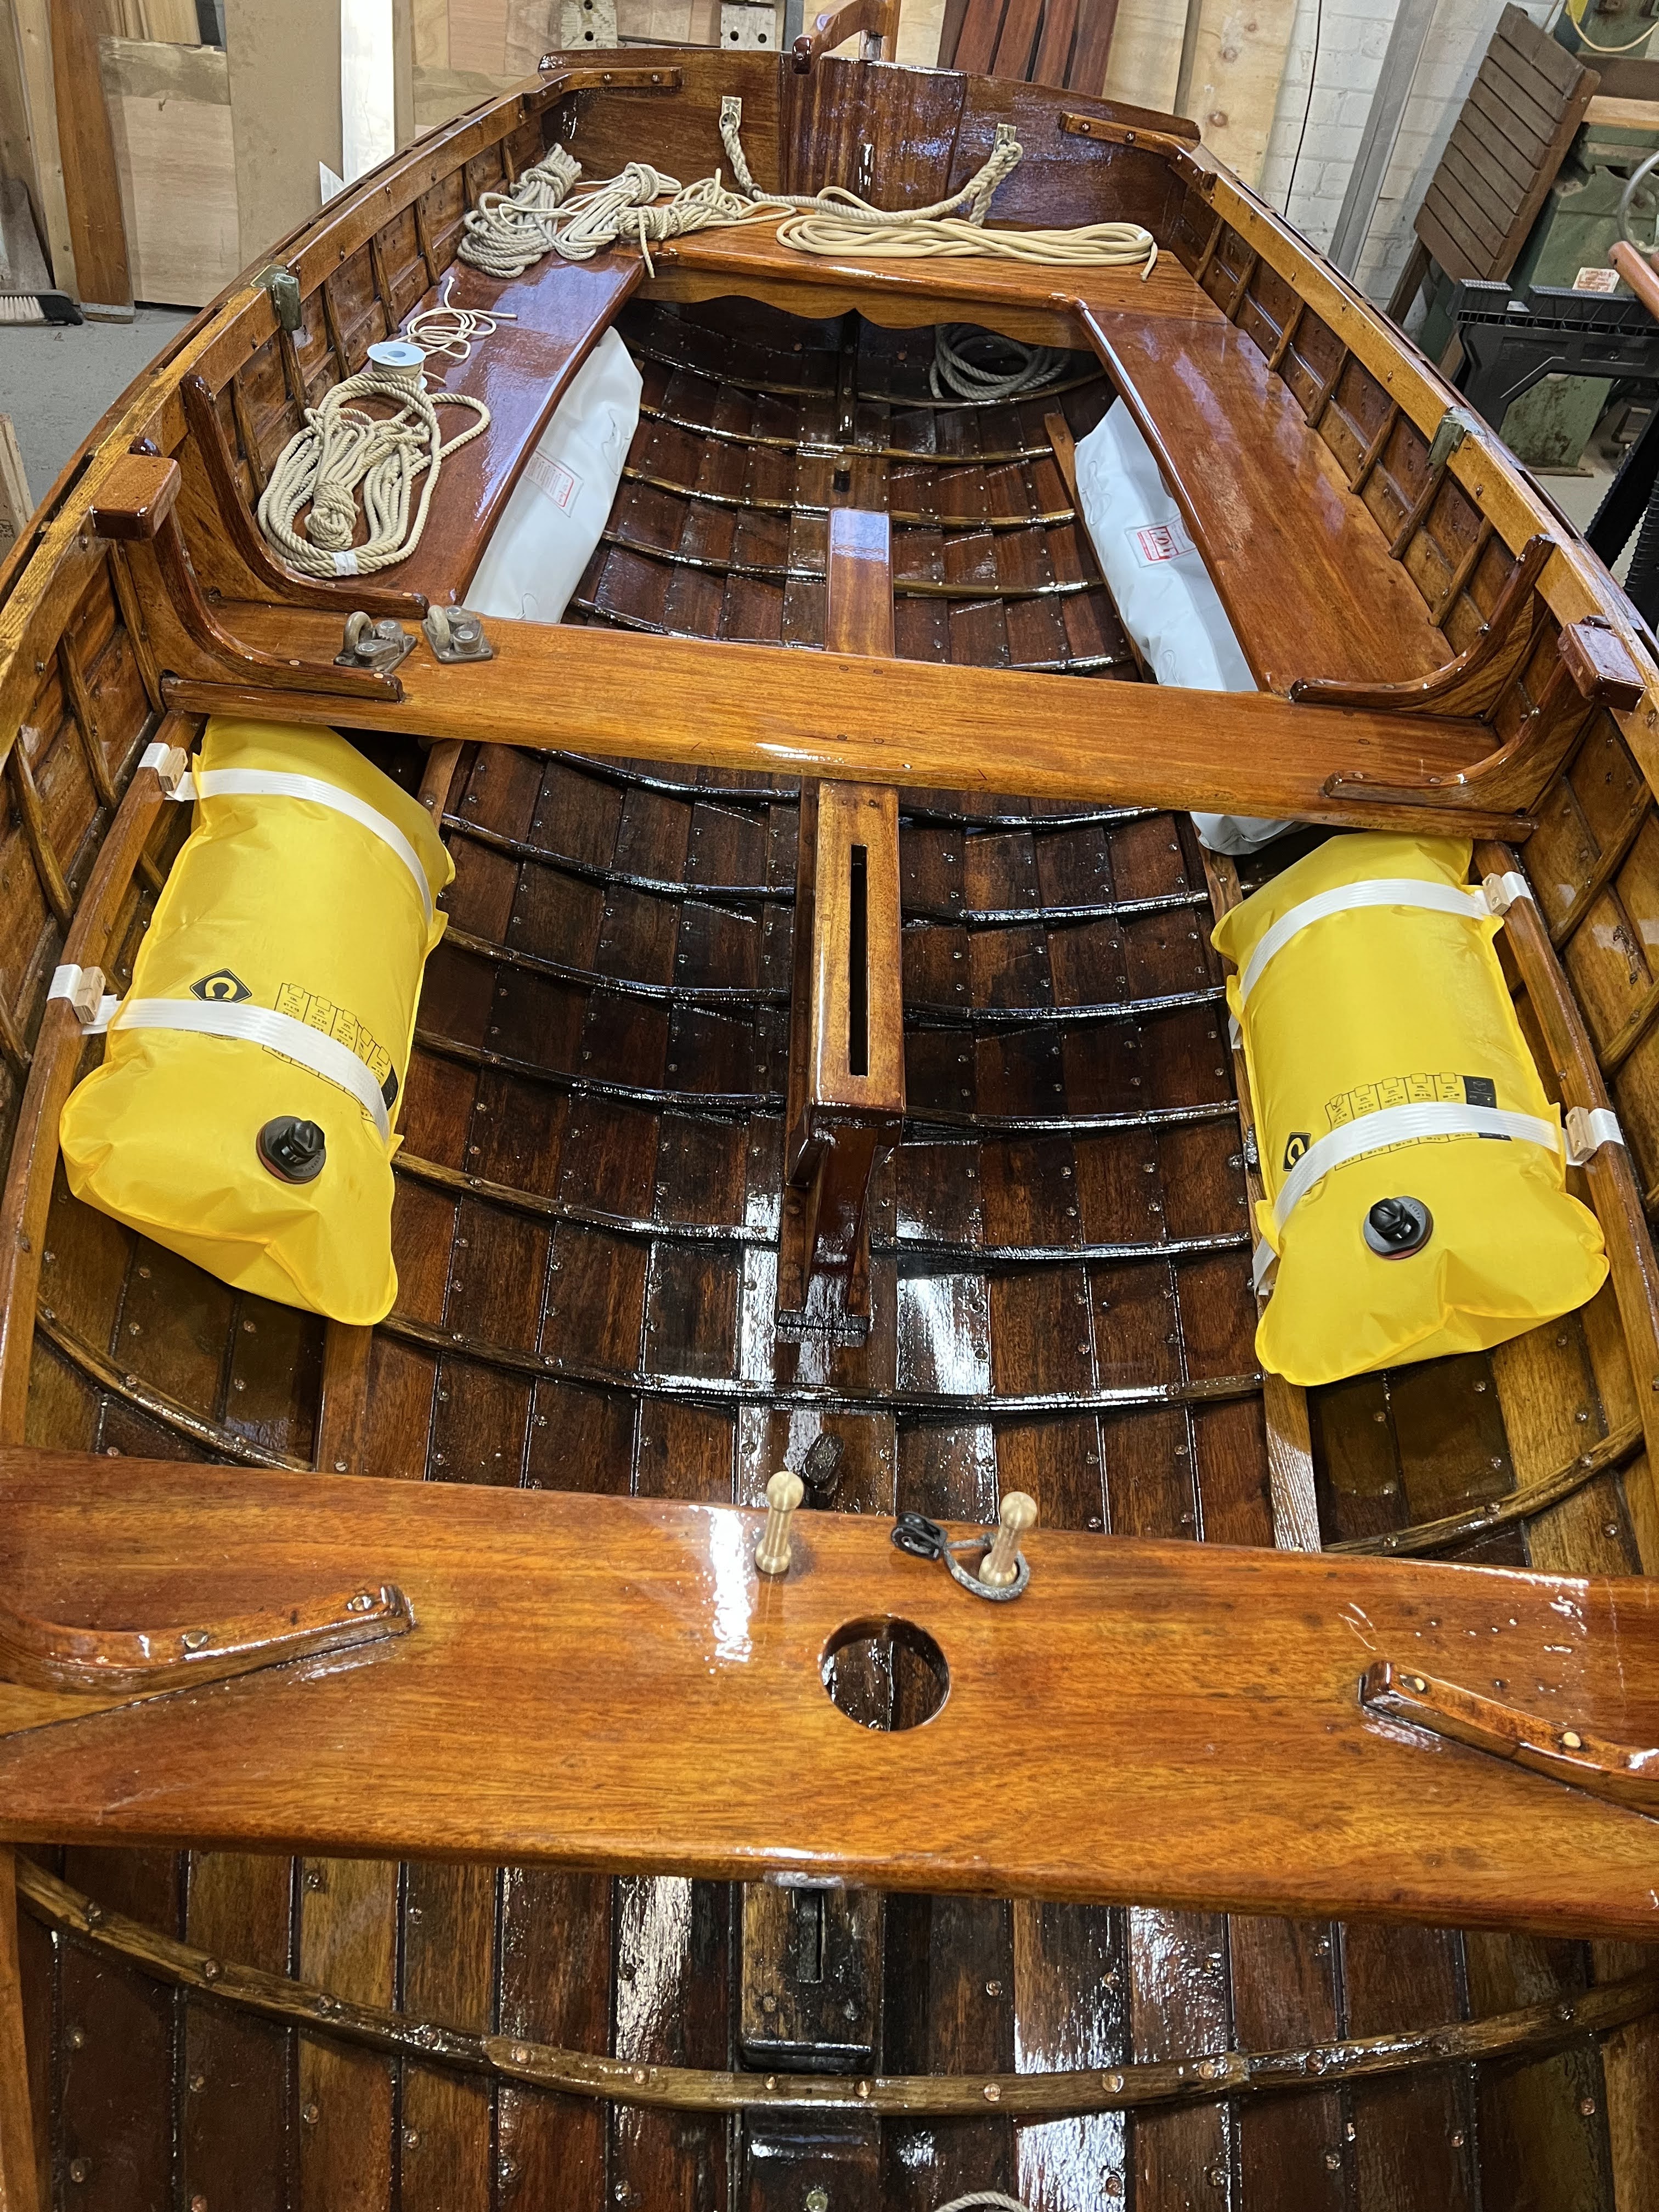
Buoyancy bags fitted down each side and under the benches.
Off to a new home
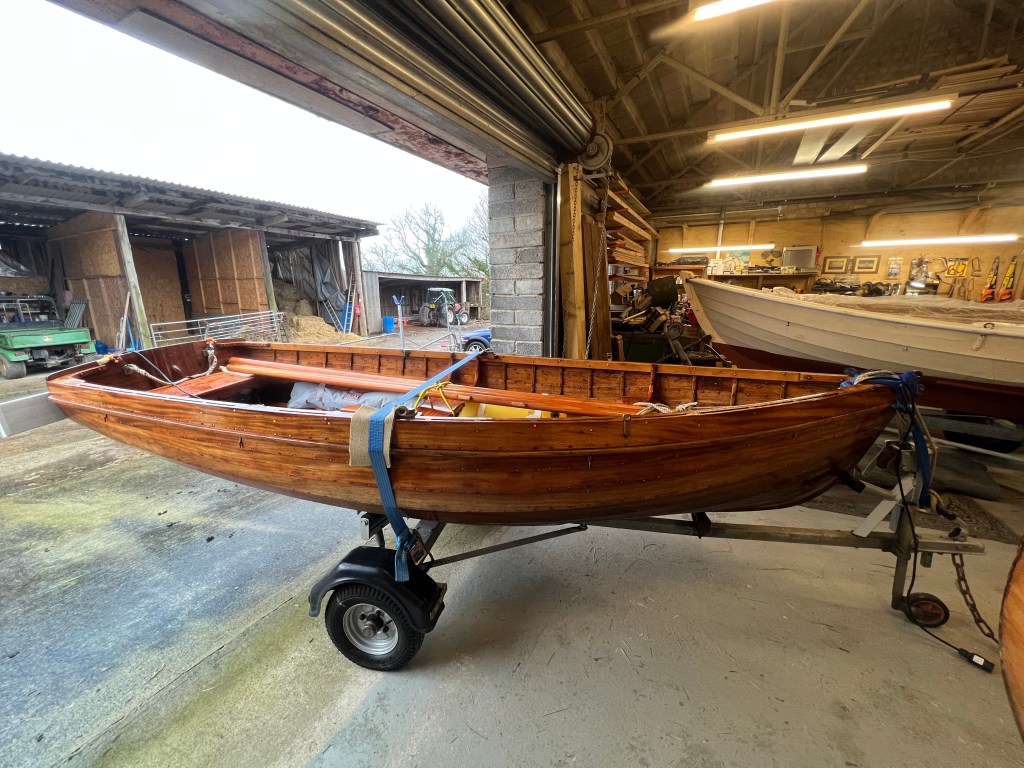
I was contacted by someone in need of a traditional clinker dinghy and agreed to sell ‘Morwenna’ in her current state. Although not yet commissioned and with her sailing ability not tested a price was agreed and she was collected and taken on a long road journey (serviced road trailer was a must) to a new home.
So, this chapter of my clinker boats story closes and I’ll add ‘Morwenna’ to my list of completed projects.
