The repairs and restoration begin.
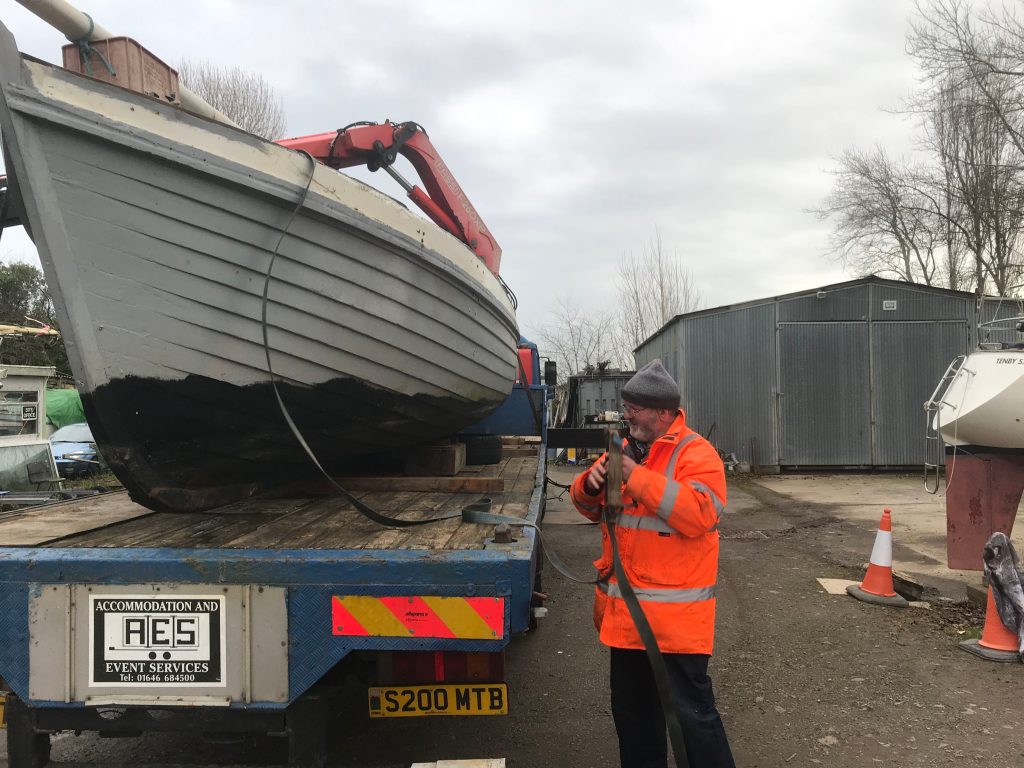
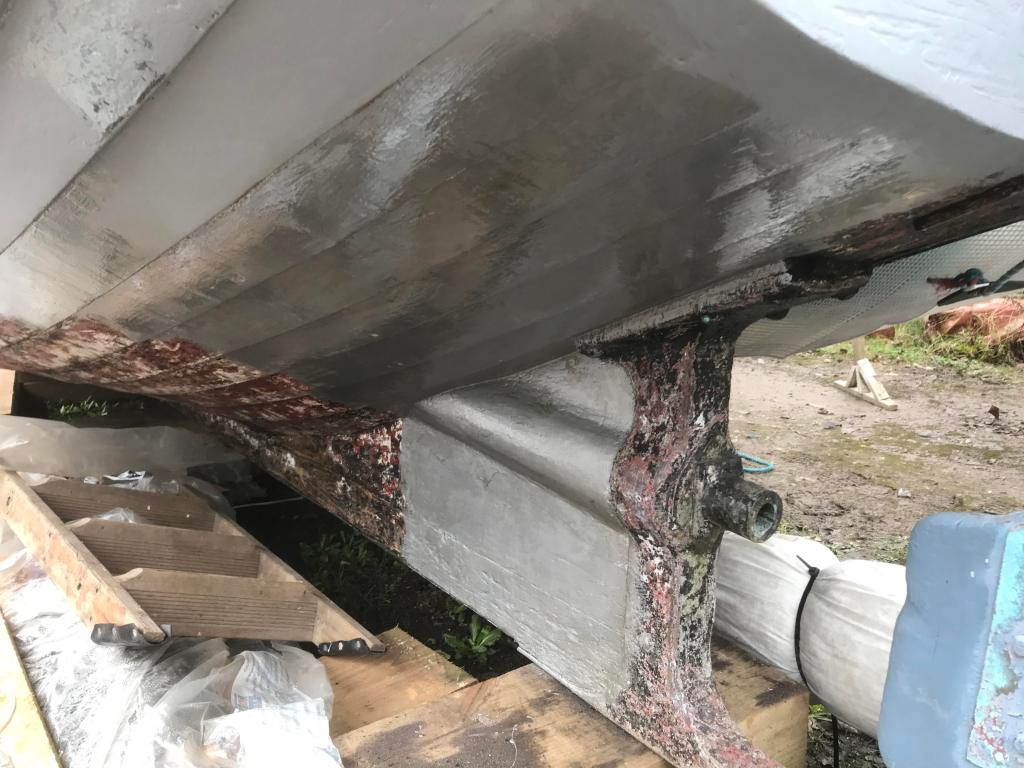
Chocked up in the yard this was the first time I was able to properly look at the state of her bottom and the condition of the outer planking. There were a few tingles and patches and some abrasion to the edges of a few planks – one of the vulnerabilities of clinker construction with nails heads close to the plank edges. The boat has no bilge keels and had clearly spent years on a drying mooring supported on legs when aground, but she must have also been lying on her bilges where an absence of bilge keels had taken their toll. The Cutter plans do not show any bilge keels as for a hoisting seaboat they were clearly deemed unnecessary.
Inside the boat the most obvious problem were numerous broken frames (ribs) – mostly at the turn-of-the bilge amidships along the land that coincided with the tops of the large sawn frames that the boat is fitted with.
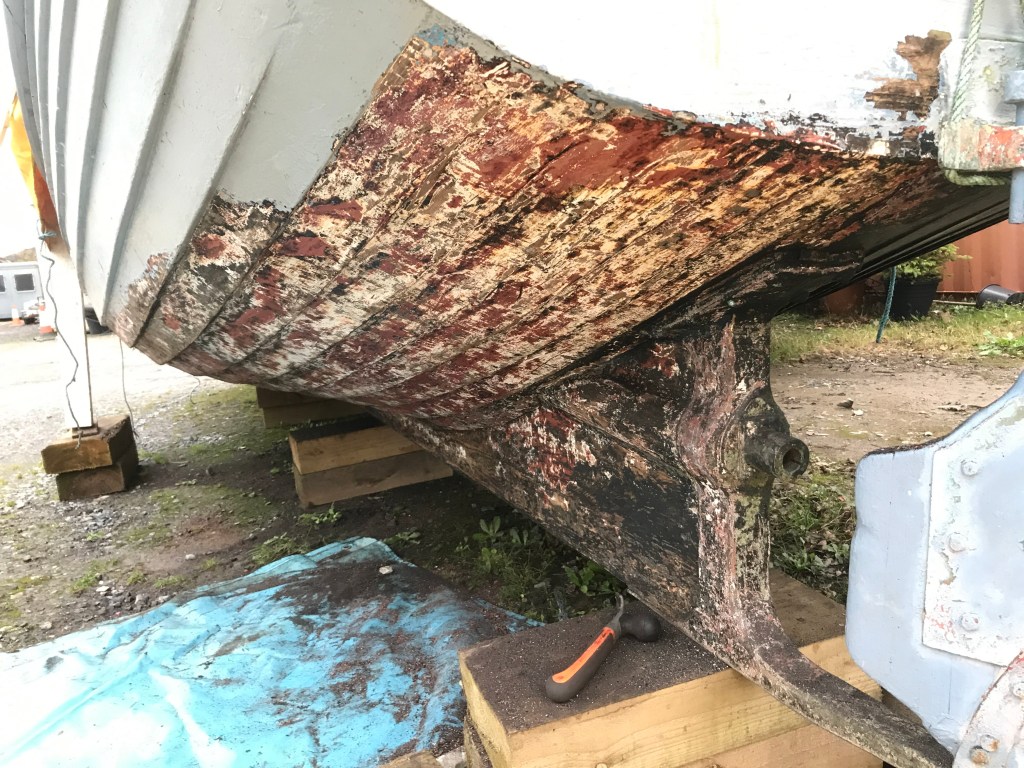
Some English oak was ordered to saw into suitable new frames and whilst this was awaited, I started on the task of stripping paint off her bottom. This is always a vile job on an old boat that has lain afloat for a while and was made worse by the fact that she’s had a few coats of black bitumen paint at some time (although I know this was done as an ’emergency’ measure to protect her as a lot of her underbelly was totally bare when first saved). Stripping away the loose paint revealed some pale white-ish primer that was well stuck on and so was simply left as old antifoul, tar and barnacles all crumbled away under the onslaught of the scraper.
Repairs to frames

New frames of 1” x 3/4″ unseasoned oak were cut and given a full radius on one (inner) face to match the existing frames. These seem very small scantlings for steam-bent frames on what is a service or working lifeboat and is typical of the overall rather light construction of the boat. It is interesting that the 9″ centres of these frames is halved in the after section in way of the shaft log and stern tube/frame assembly – clearly to increase the structural strength in this crucial area.
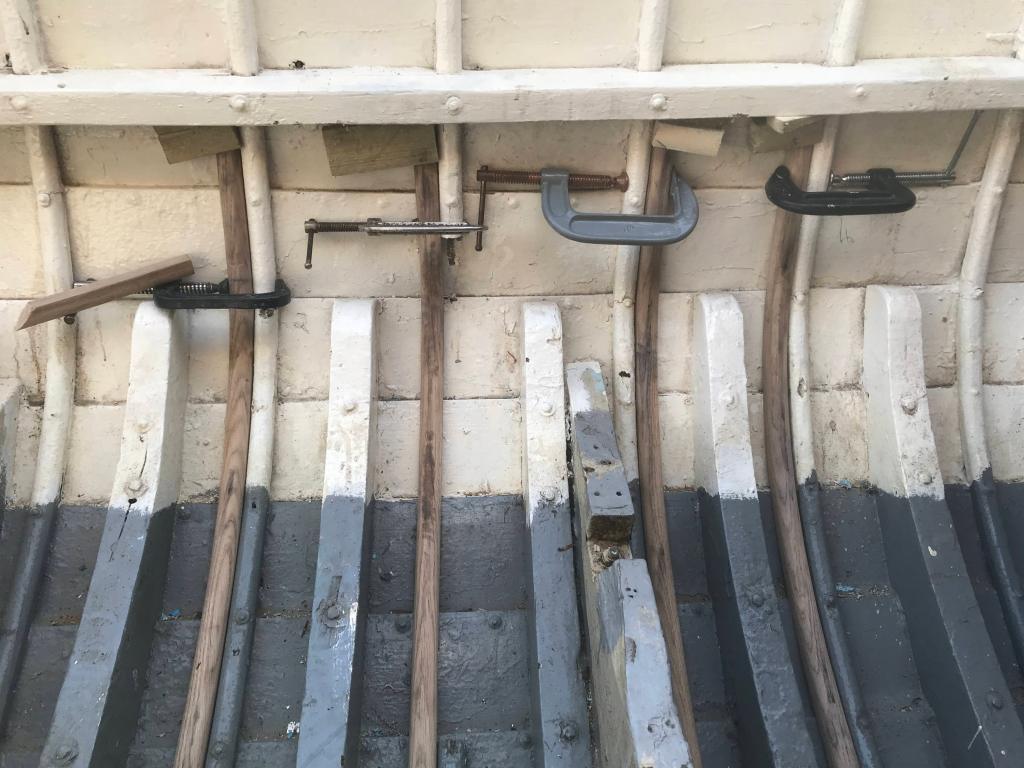
The sections of new timber were given about 40-50 minutes in the steam box and were bent into place alongside the frames they were to replace and clamped and allowed to cool and dry.
The broken frames were marked, cut and removed after grinding off the rove heads and driving out the nails. All the copper fastenings are sound even after 80-years.
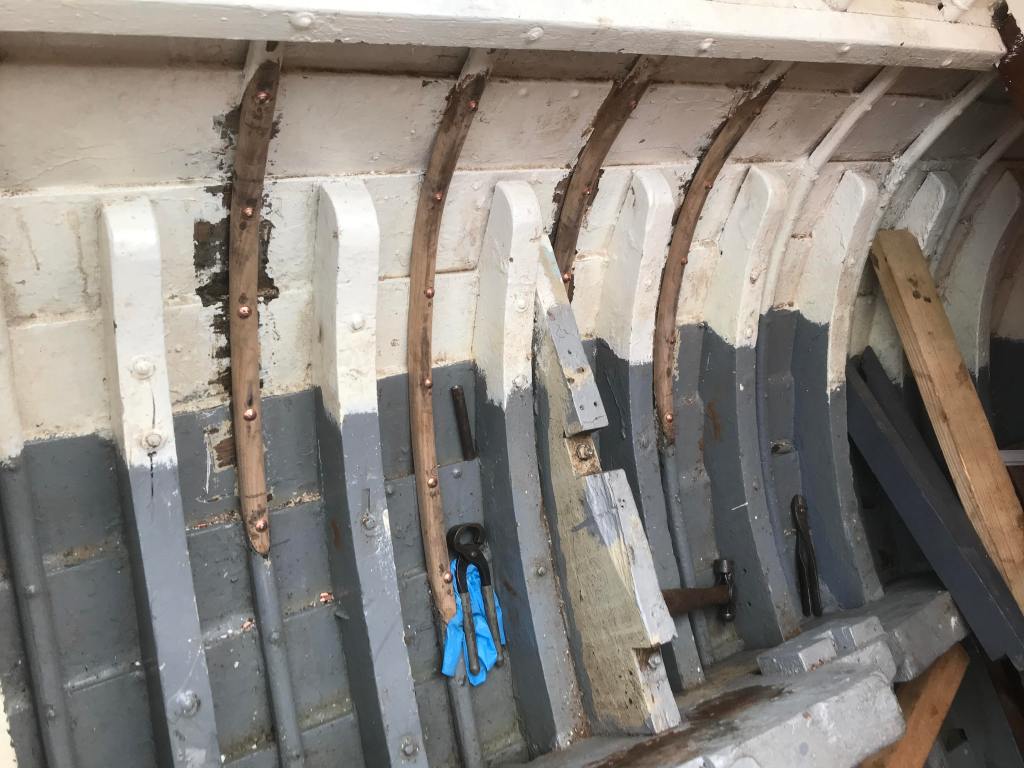
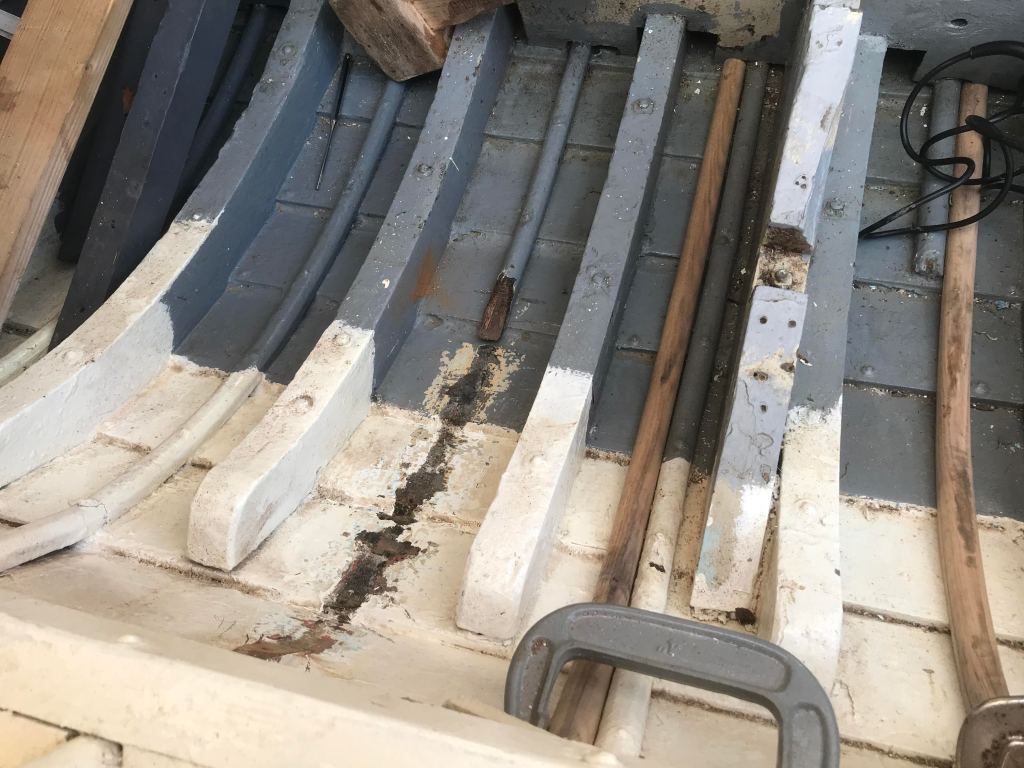
The replacement frame sections had mating scarfs cut that coincide with a fastening and were glued and nailed. So, this is obviously not as thorough a job as replacing the entire timber. However these frames pass behind inwales, risers and engine beds, and removing them will have required a massive amount of work dismantling and removing timber that is still sound, so this is a compromise. Also, look at the sections of those sawn frames! It is these that brace and support the enormous engine bearers in a boat built to carry a 1,050lb (477kg) engine.
All the port-side frames done we moved over and mended a similar number on her starboard side.
Restoration of the boat – some small jobs
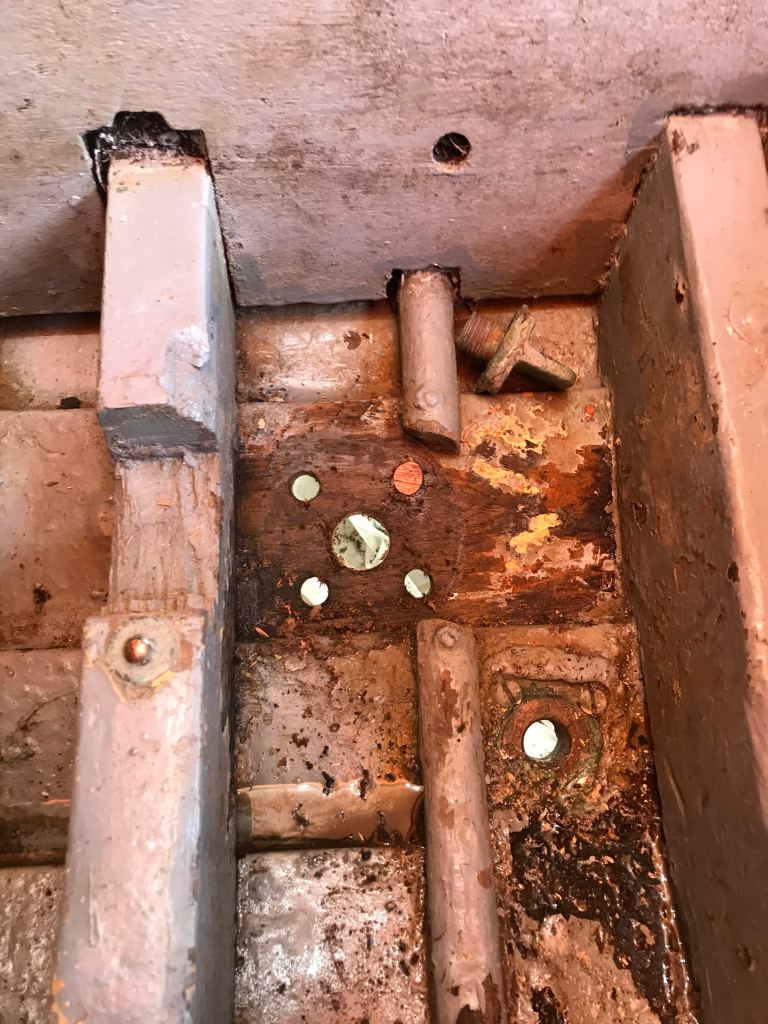
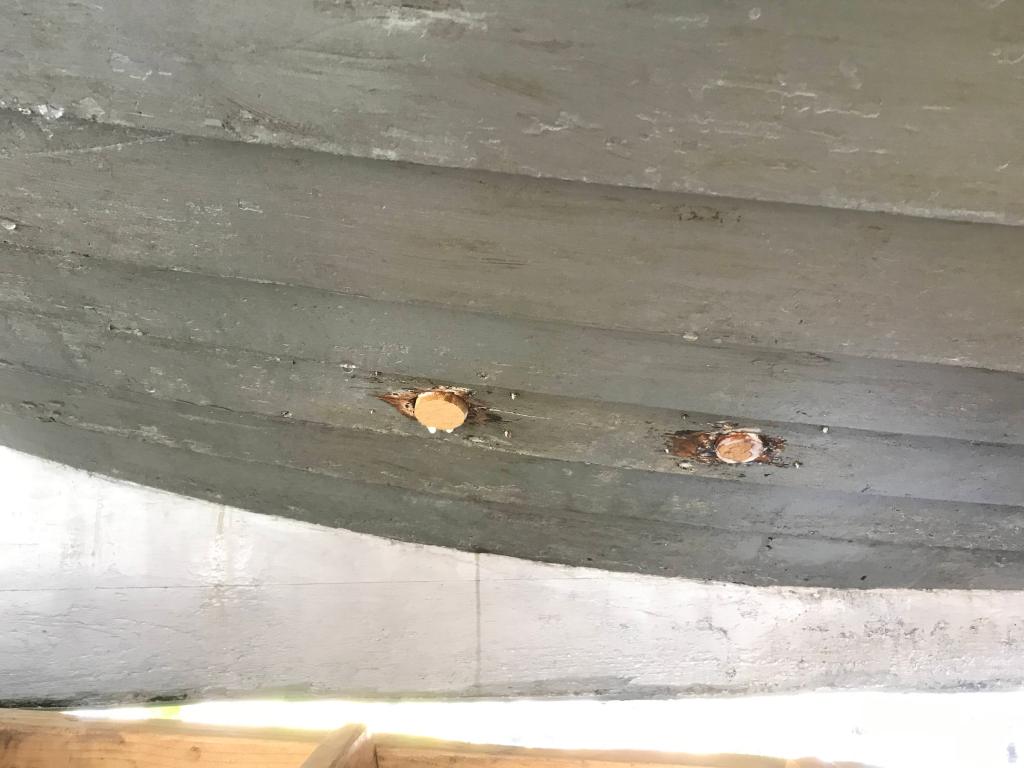
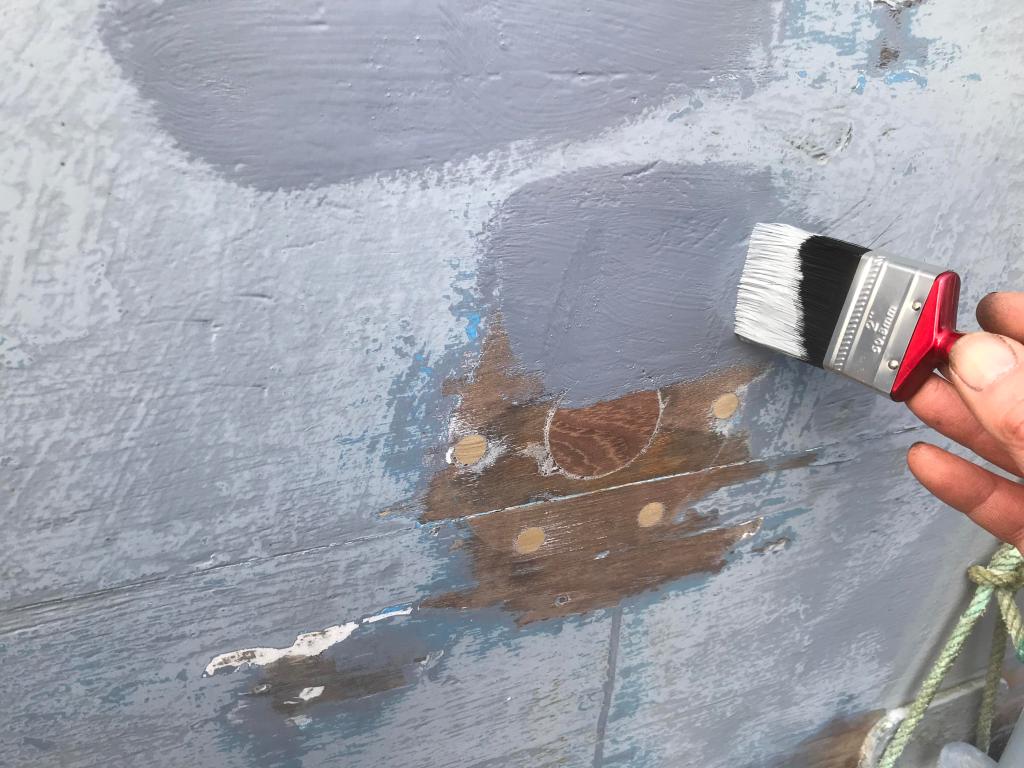
Now we continue with some jobs on the hull including plugging some holes in her bottom and topsides from removed fittings and priming the bottom.
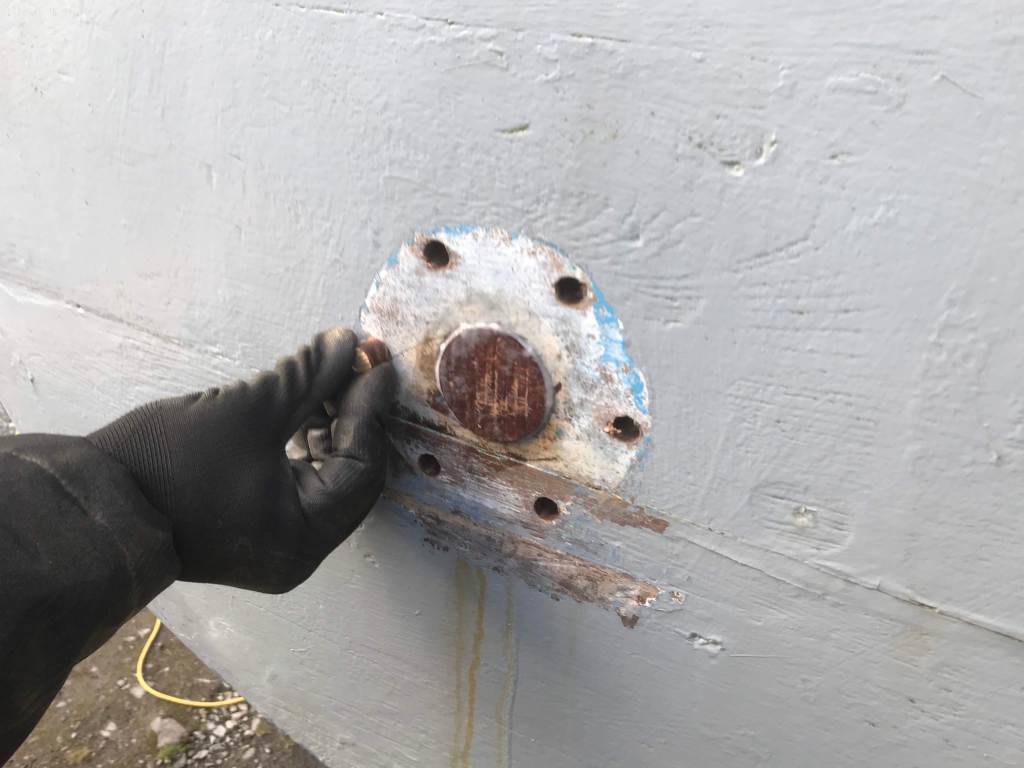
The seacock had been moved and was installed (rather crudely) aft of the engine space. Since we were to put it back in its original location (which will be described later) the holes in the planking were plugged and wooden tingles glued and fastened to the inside.
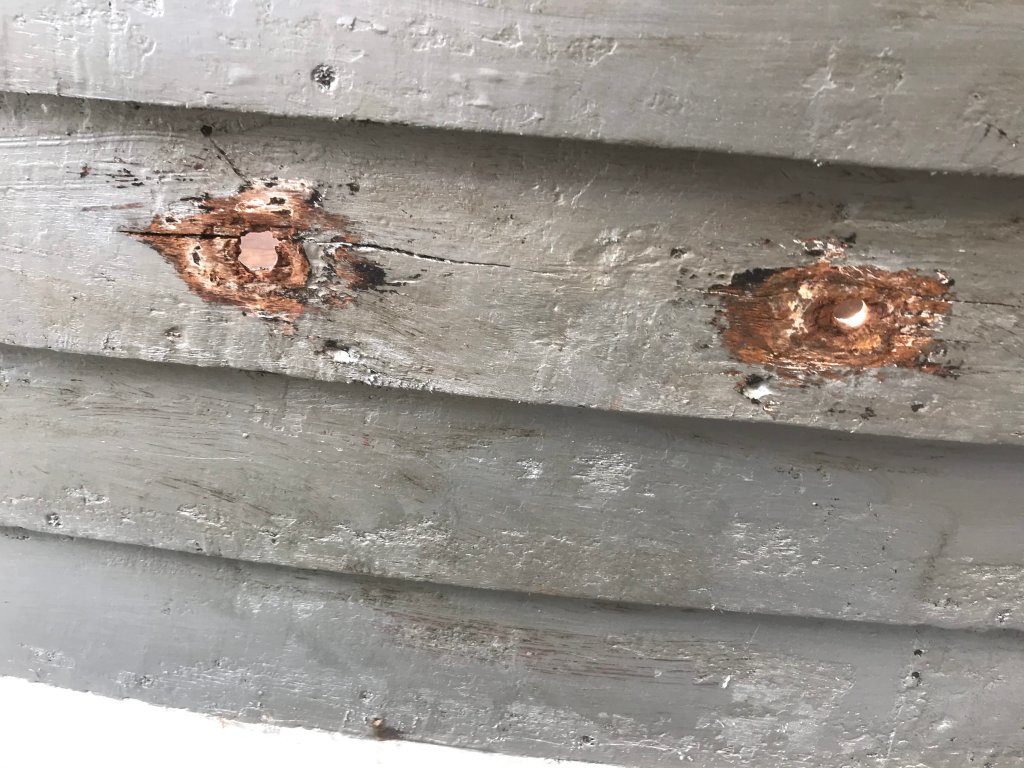
With these few repairs done a couple of coats of primer were applied to the bottom of the boat and the new bits of timber and plugged areas.
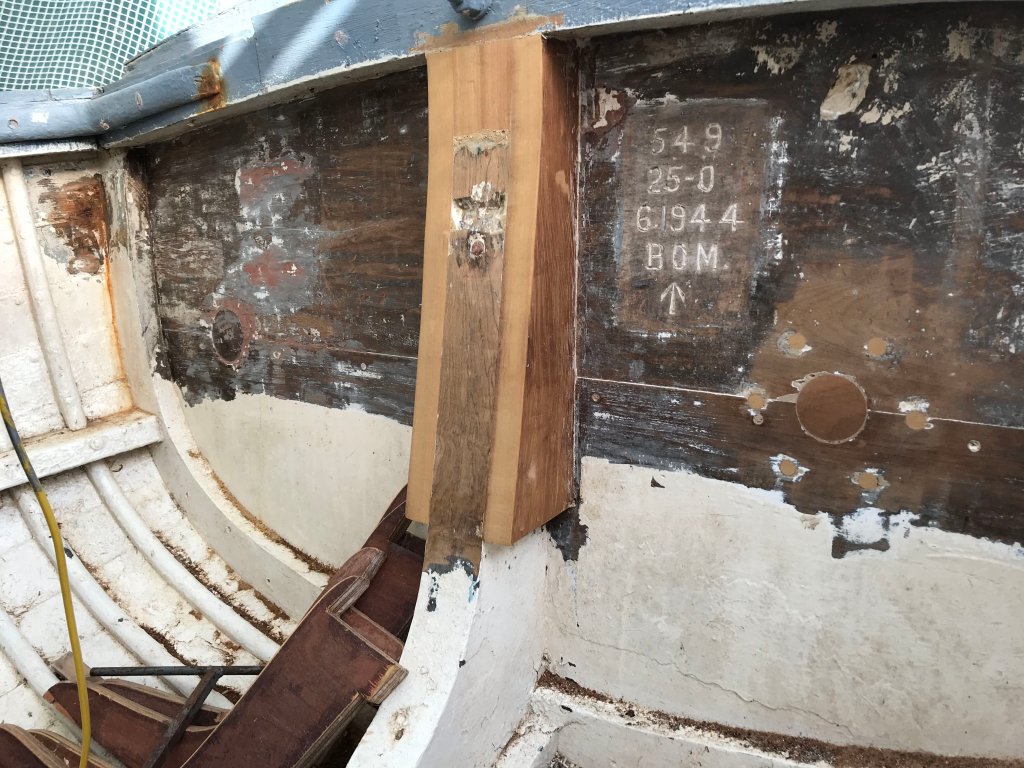
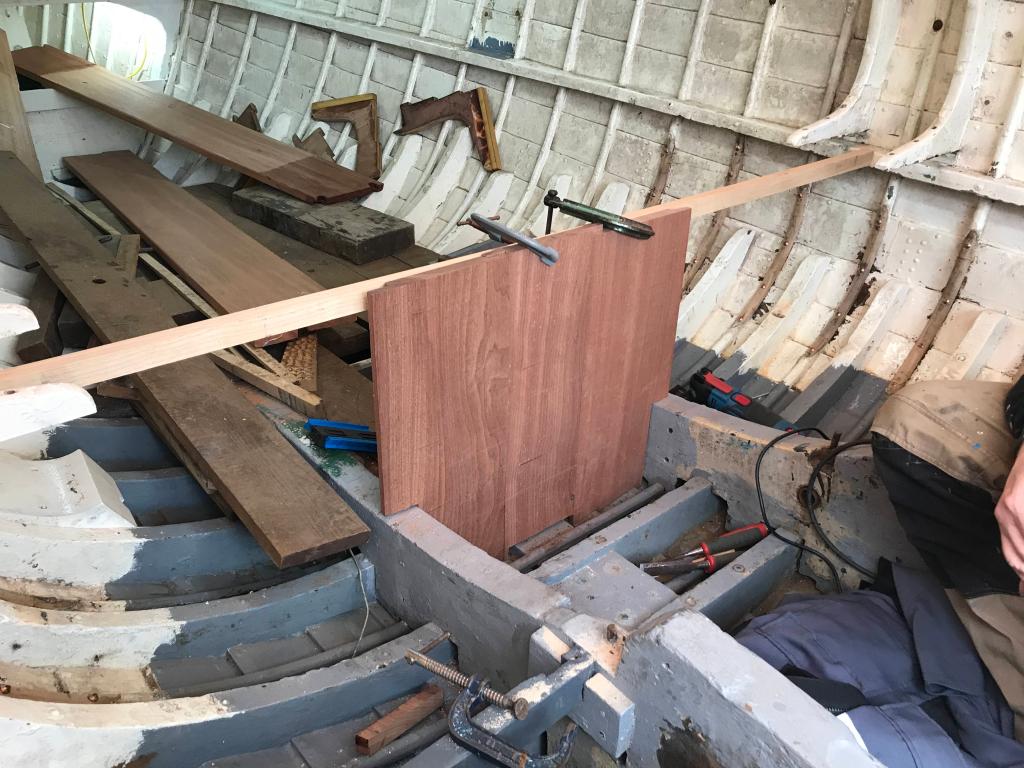
Moving back inside the boat we had some fundamental improvements to make, namely repair of her sternpost where it had been cut through for some form of wheel steering tiller arrangement, the fitting of new thwarts to replace the badly fitted and wrongly sized baulks of softwood she had when I got her, and to replace the midships watertight bulkhead under the thwart, just ahead of the engine.
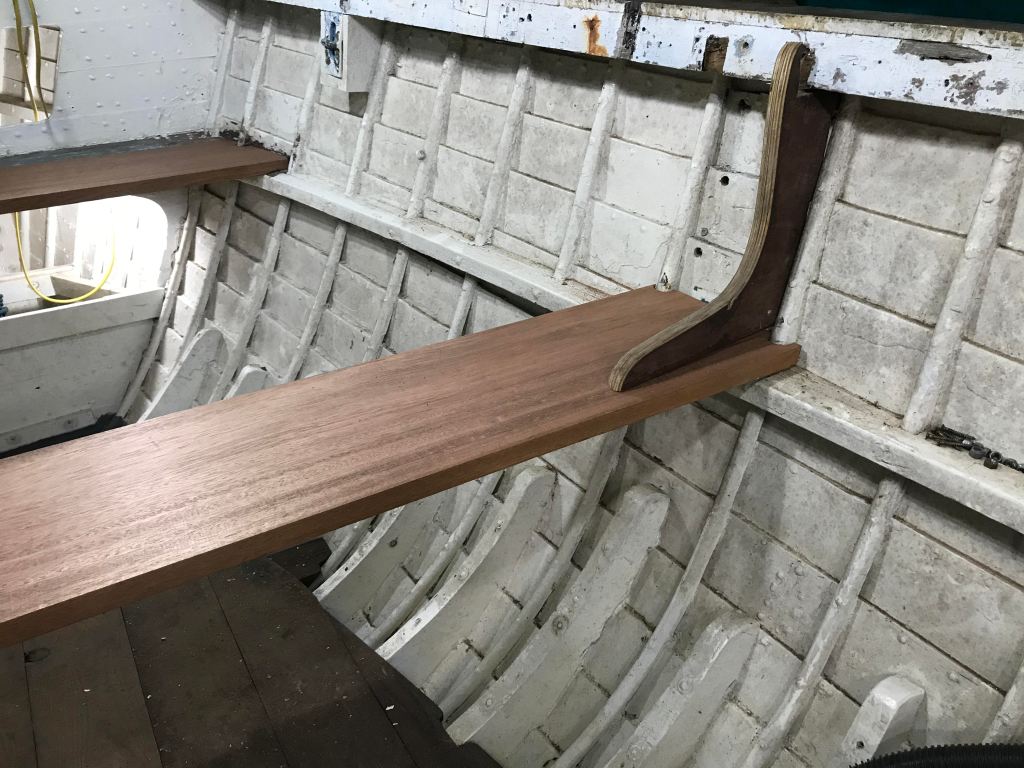
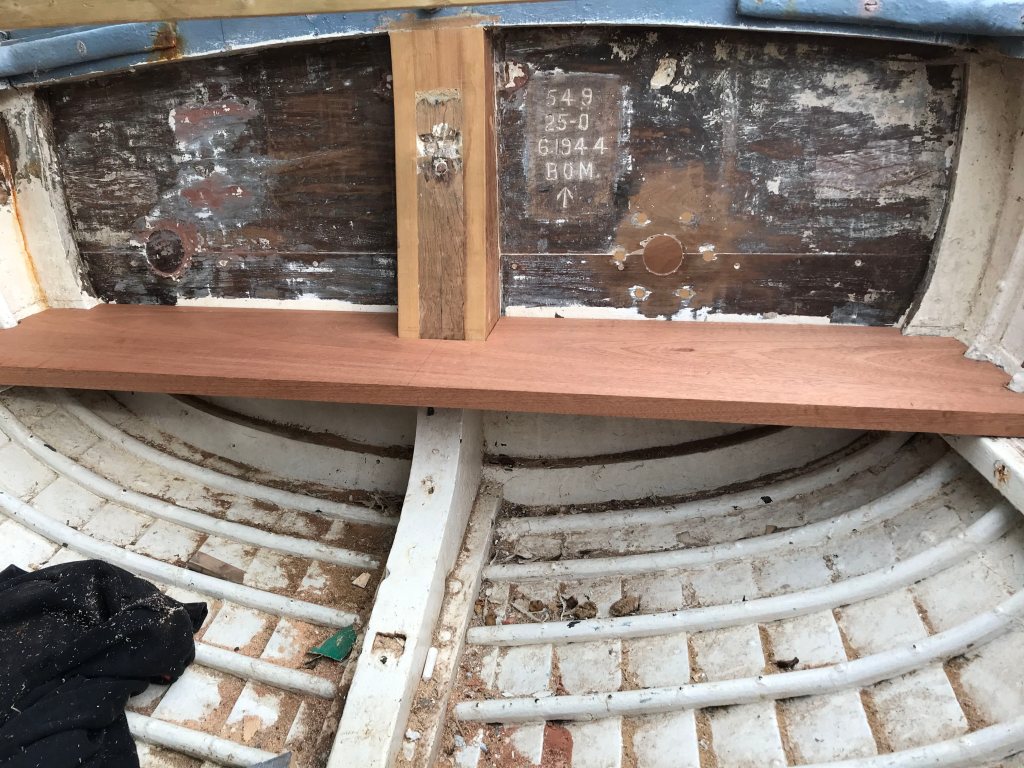
The bulkhead was made from two layers of sapele that we’d machined to give half-lap joints that once bonded together and to one of the main frames with sikaflex would be watertight. There are no limber holes through it and there is a separate drain plug for the forward end of the boat – and provision for a separate bilge pump forward, too.

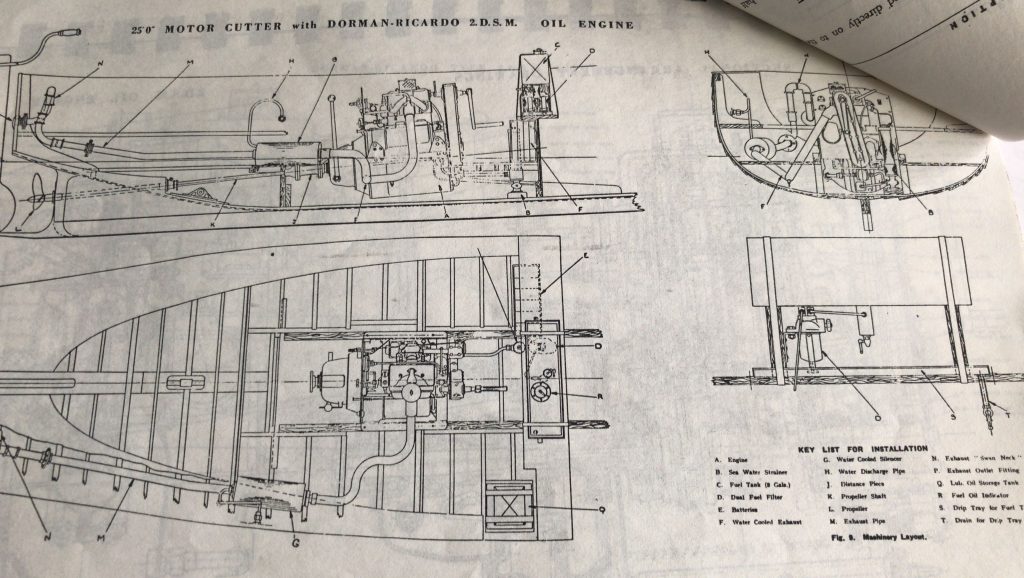
The reader will have no doubt noticed from the pictures of the boat that 549 is lacking an engine. Whilst we were working on these jobs we were able to obtain some machinery – of which more will be revealed in later updates. However, this serves as a taster of what we were able to find…
Next Page – 25′ Motor Cutter – Restoration of boat No.549 Part 2
Read more: 25′ Motor Cutter – Restoration of boat No.549 Part 1